If you’re looking for a fun, creative project that doesn’t require a trip to the store or a big budget, homemade sidewalk chalk is where it’s at. I promise, this stuff is so easy to make, and it’s one of those DIYs that turns out better than expected. Whether you’re keeping the kids busy, making a cute gift, or just want a simple craft for a lazy afternoon, this is one of those feel-good projects you’ll want to do again.
I’ve made a lot of DIYs over the years, and this homemade sidewalk chalk recipe is one of the easiest—and most satisfying. Plus, it only takes three ingredients. Yes, just three!
{Affiliate links are used in this post. Click on any underlined links to find the products and sources I am referring to. You can read my disclosure HERE.}
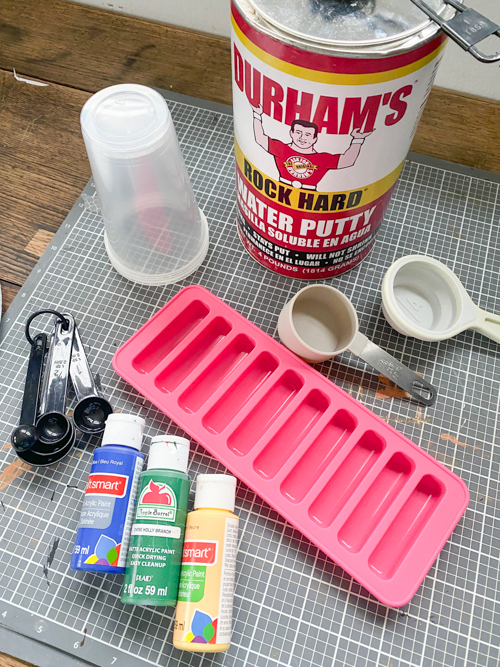
Supplies You’ll Need for Homemade Sidewalk Chalk:
-
½ cup Durham’s Water Putty
-
¼ cup water
-
1 teaspoon craft paint
-
Silicone molds (fun shapes make it even better!)
How to Make Homemade Sidewalk Chalk: Step-by-Step
-
Mix the Chalk Base
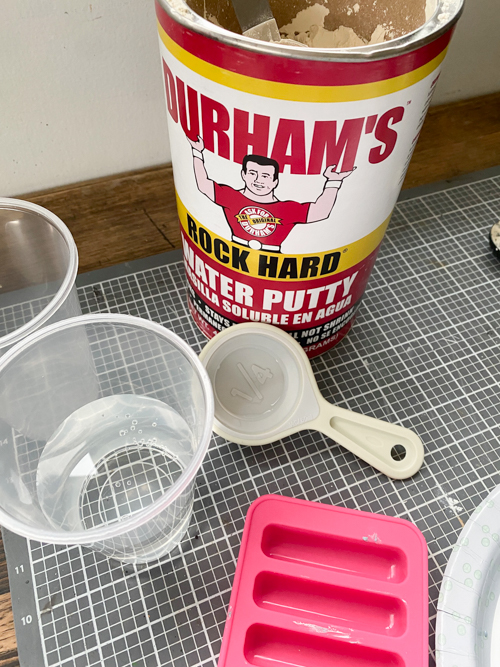
In a small bowl, combine ½ cup Durham’s Water Putty and ¼ cup water. Stir until it is completely mixed and forms a smooth, lump-free paste.
-
Add Color
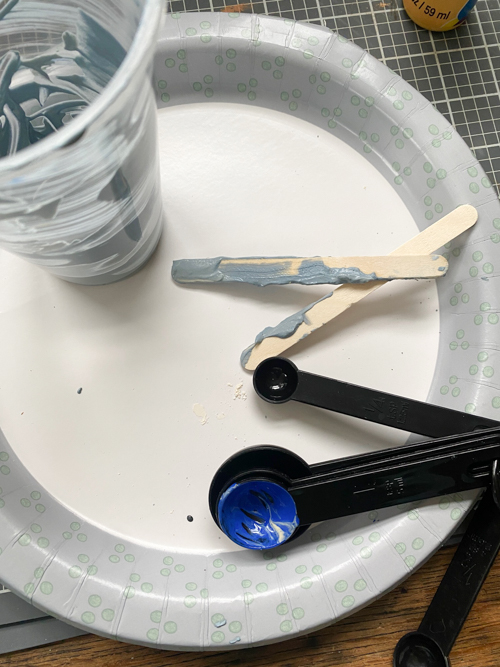
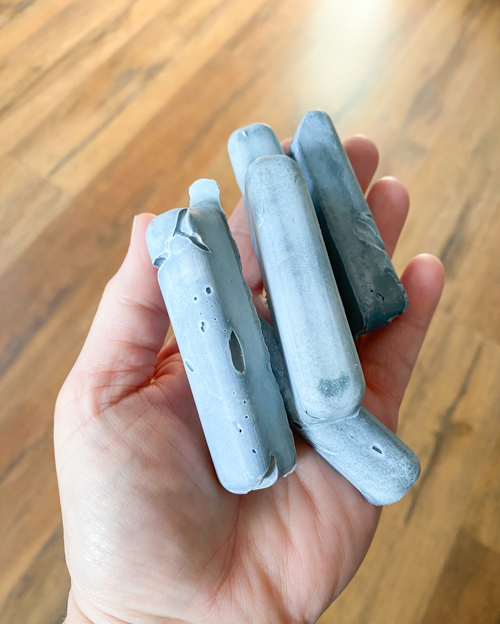
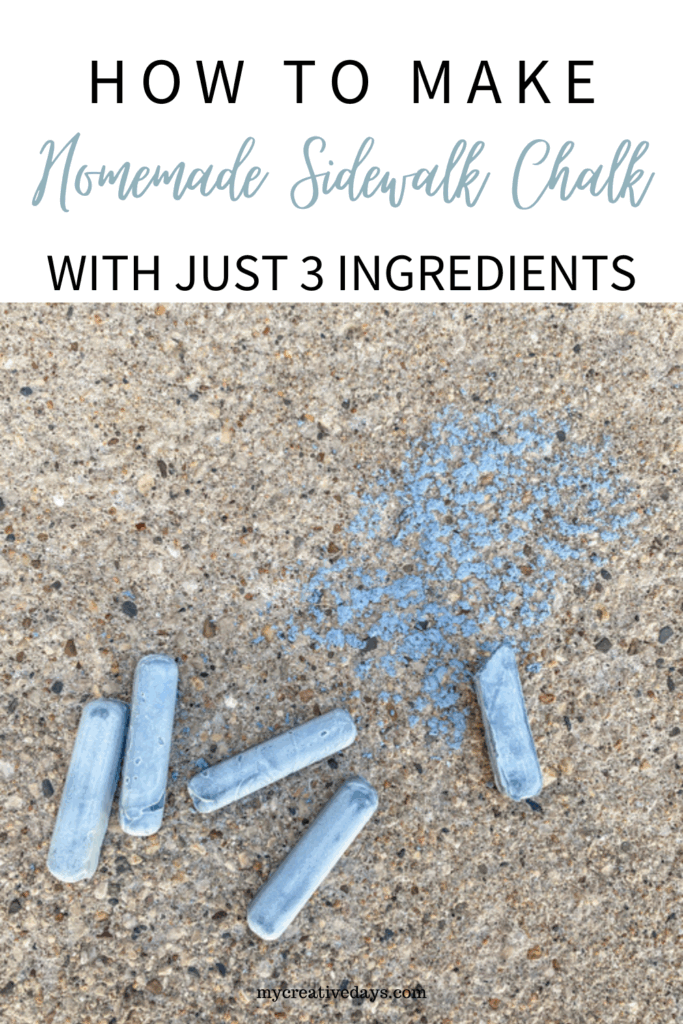
Mix in 1 teaspoon of craft paint. Bold, bright colors work best for this project. I used a vibrant blue paint, but as you can see in the photo above, the final color turned out completely different. That’s because the base mixture of water and putty has a yellowish-beige tint, which can really affect how your paint color shows up. Keep that in mind when choosing your colors. Stir the mixture well until the color is evenly blended. If it’s not fully mixed, you might get a marbled effect—which actually looks pretty cool, too!
-
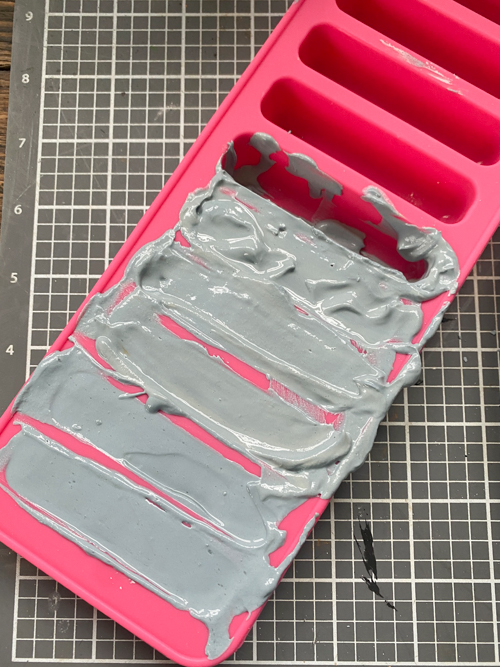
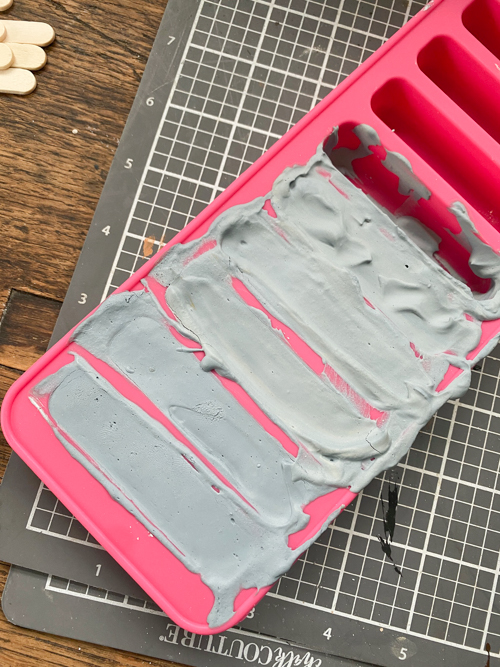
Fill the Molds
Pour the mixture into your silicone molds. Gently tap the mold on the table to level the mixture and remove air bubbles. -
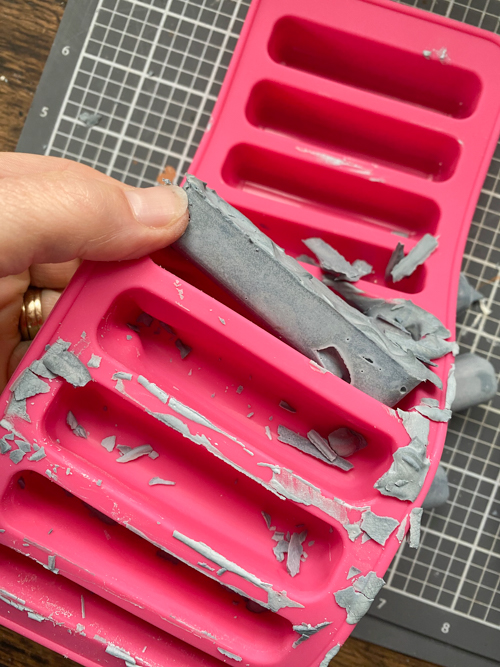
Initial Dry Time
Allow your Homemade Sidewalk Chalk to dry in the molds for a few hours, or until it’s solid enough to remove without breaking.
-
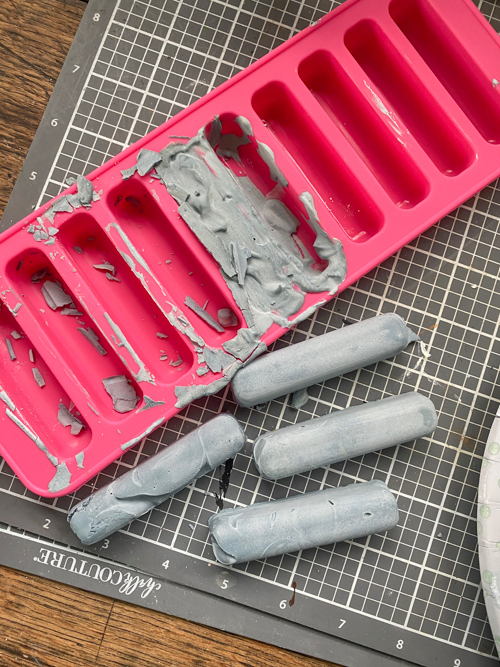
Final Cure
Remove from the molds and let the chalk dry completely overnight to ensure it’s fully hardened and ready for use.
Tips for Better Homemade Sidewalk Chalk:
-
Use high-quality craft paint for bolder colors.
-
Try glitter paint for a sparkly version of homemade sidewalk chalk (I have not tested this, but think it could be fun).
-
Store chalk in a sealed container to prevent moisture buildup.
-
Make themed chalk shapes for holidays, birthdays, or gifts.
Why You’ll Love This Homemade Sidewalk Chalk DIY:
-
Super budget-friendly.
-
Customizable colors and shapes.
-
Makes great party favors or rainy day crafts.
-
A fun alternative to store-bought sidewalk chalk.

FAQs About Homemade Sidewalk Chalk
Can I use food coloring instead of craft paint?
Craft paint is best for vibrant, solid colors. Food coloring may work, but I didn’t test it. You could try it and report back to me!
Is Homemade Sidewalk Chalk safe for toddlers?
Yes, when using non-toxic craft paint and supervising during use. Always check ingredients for allergies.
This homemade sidewalk chalk recipe is an easy, low-cost project that sparks creativity and encourages outdoor fun. It’s a great way to spend time with your kids or make a gift that’s thoughtful and fun to use. With just three ingredients, you’ll have a batch of colorful chalk that’s ready for all your sidewalk masterpieces.
To watch me do this project in real-time, head over to my YouTube video HERE. Make sure to SUBSCRIBE when you are there. I am launching new videos every week!
https://youtu.be/4xDdDtI_CGQ
PIN THIS POST!
If you liked this project, you will also love these projects:
How To Create Aged Copper Patina On Wood & Metal
1 Comment