

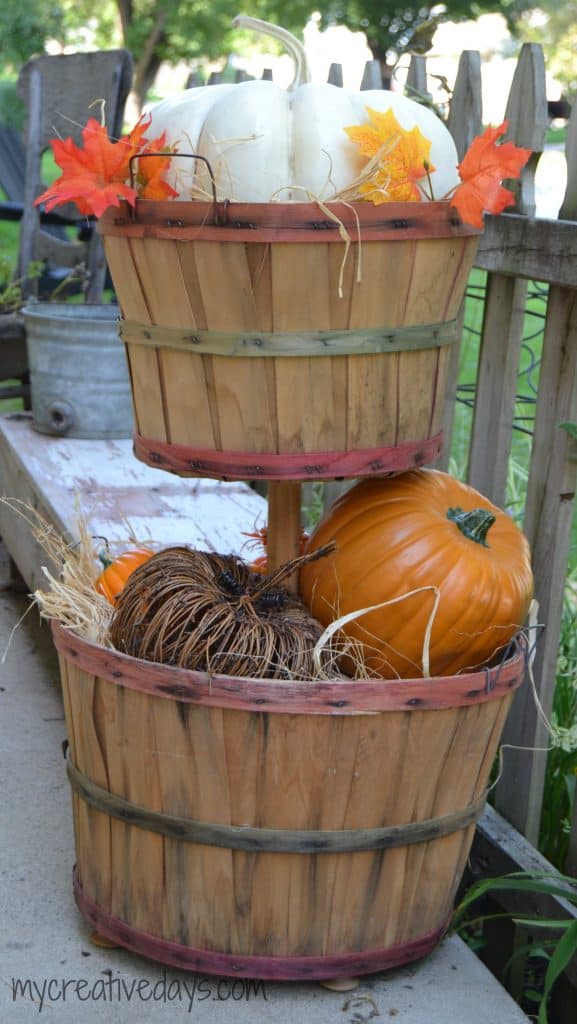
A tiered bushel basket is such a fun way to give old baskets a new purpose, especially when you’re decorating for fall.
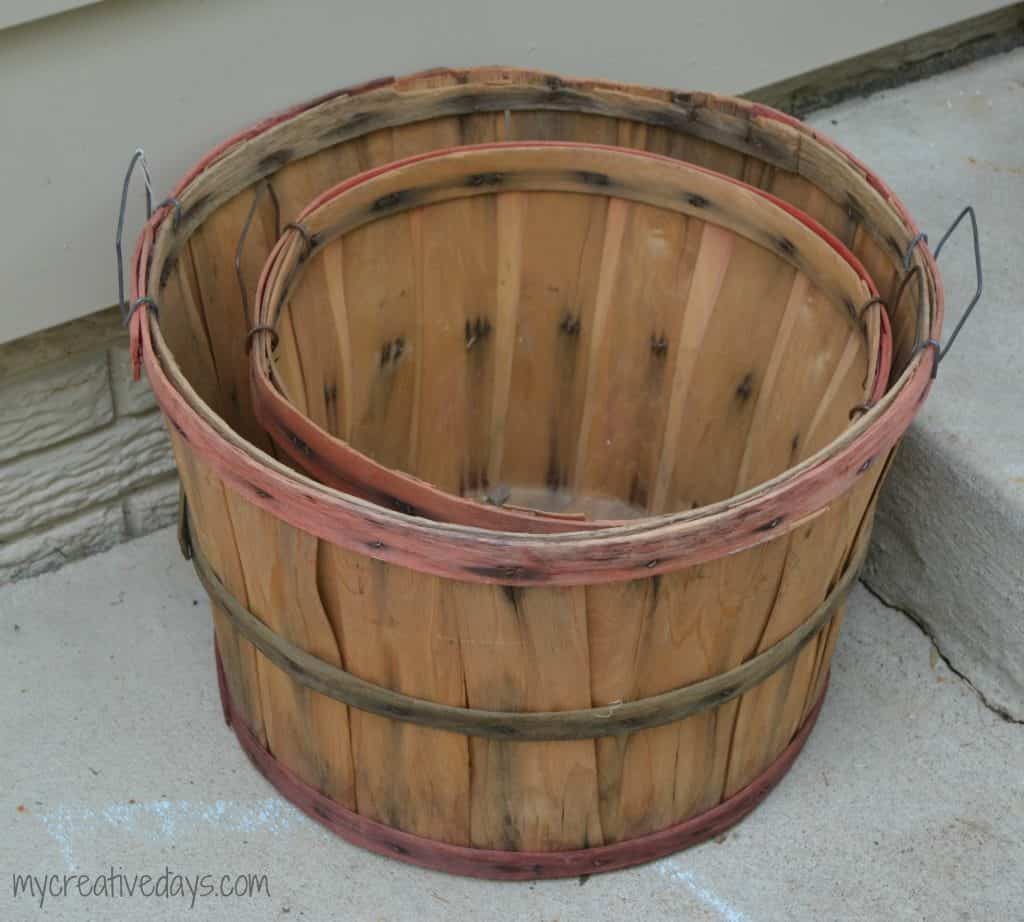
I have a hard time getting rid of things that I know I can turn into something someday. These two old bushel baskets are a perfect example. They sat around for years before I finally figured out what I wanted to do with them.
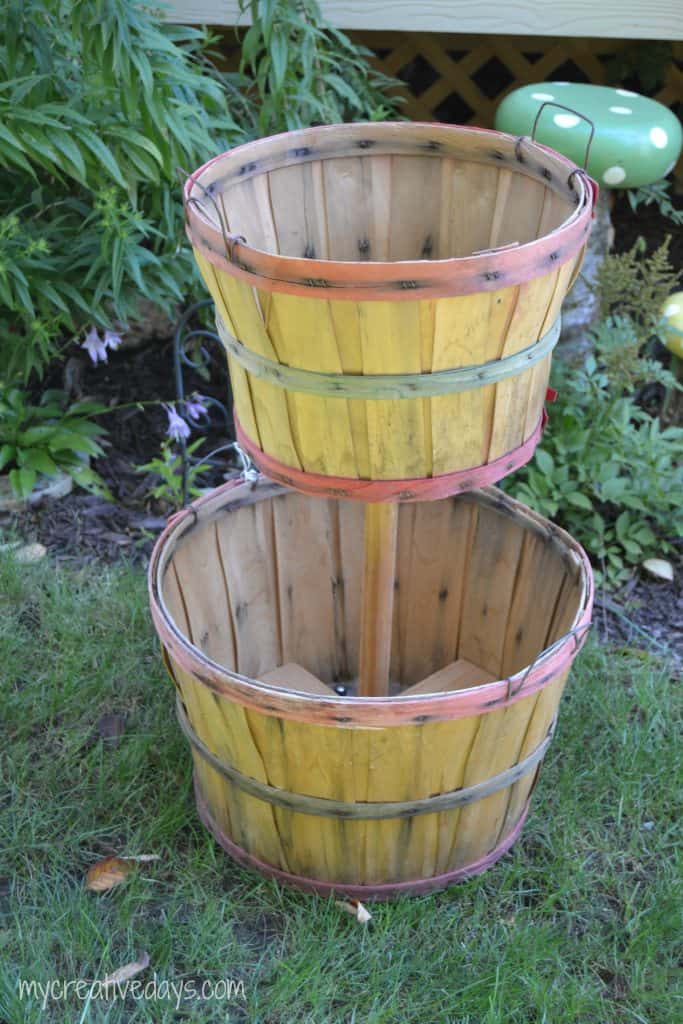
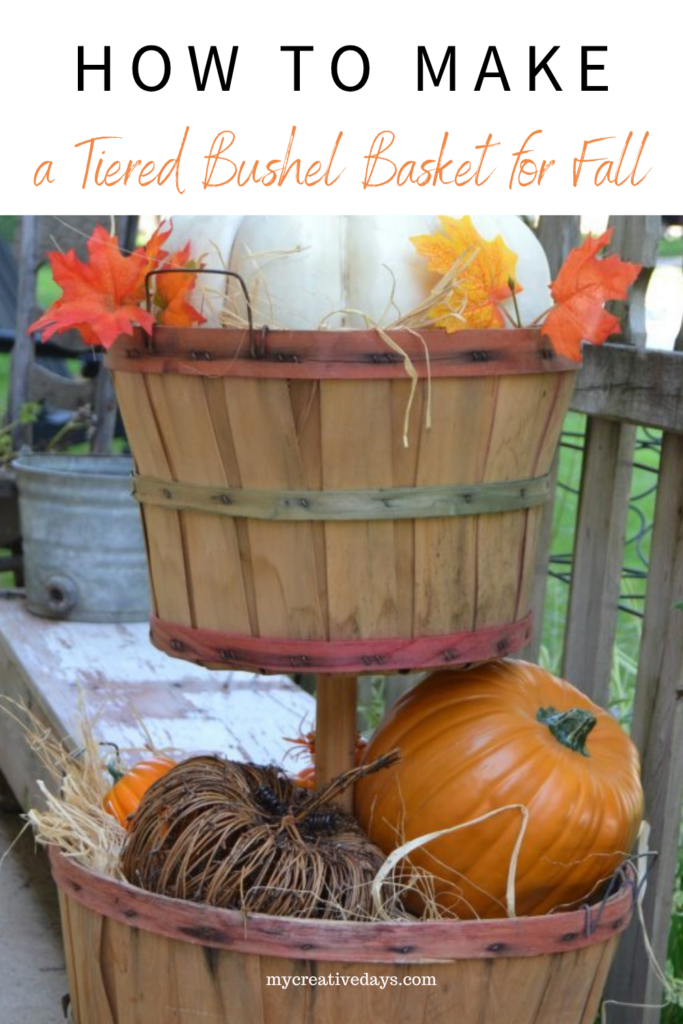
Instead of using the baskets separately, I turned them into a tiered bushel basket that is perfect for fall decorating. It gives me two levels to fill with pumpkins, gourds, flowers, and other seasonal decorations, and it was such an easy project to make.
If you have a couple of old bushel baskets sitting around, or find some at a thrift store, flea market or garage sale—this is a fun way to give them a completely new purpose.
Why I Love This DIY Tiered Bushel Basket
I love decorating with pieces that can work throughout an entire season instead of something that only has one purpose.
This tiered bushel basket is especially useful because you can change what you put inside it throughout the year. Fill it with pumpkins and gourds for fall, greenery for winter, flowers in the spring or fresh produce during the summer.
It is also a great project if you enjoy thrifting and repurposing because the baskets don’t have to be new or perfect. A little wear and character can actually make the finished piece even better.
(Affiliate links are used in this post. You can see my full disclosure here.)
Supplies for a Tiered Bushel Basket
You can adjust the materials depending on the baskets you find and how tall you want your finished tiered basket to be.
How to Make a Tiered Bushel Basket for Fall
Step 1: Choose Your Bushel Baskets
Start with two bushel baskets.
They don’t necessarily have to be brand new or identical. In fact, I love using baskets that already have some character. Look at thrift stores, flea markets, garage sales or your own stash before buying new ones.
For this project, you’ll want one basket positioned above the other to create two levels for decorating.
Step 2: Measure the Height
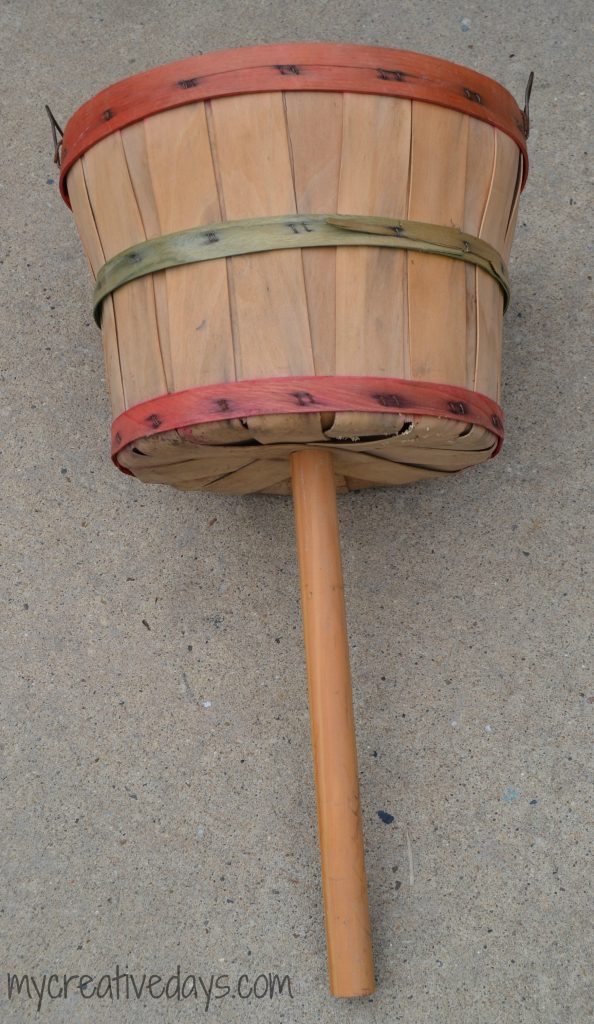
Before cutting your dowel, decide how much space you want between the two baskets.
Place the baskets where you want them and measure the distance. Keep in mind what you’ll be putting inside the bottom basket and how much room you’ll want for decorating.
Once you have your measurement, cut the dowel to the appropriate length.
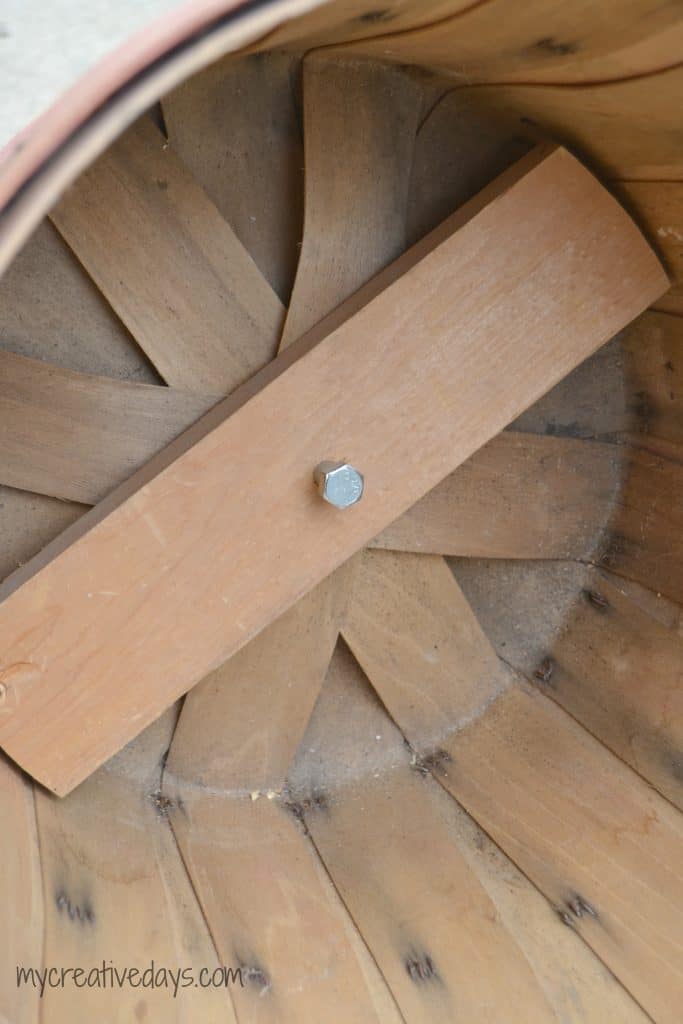
Step 3: Attach the Dowel to the Top Basket
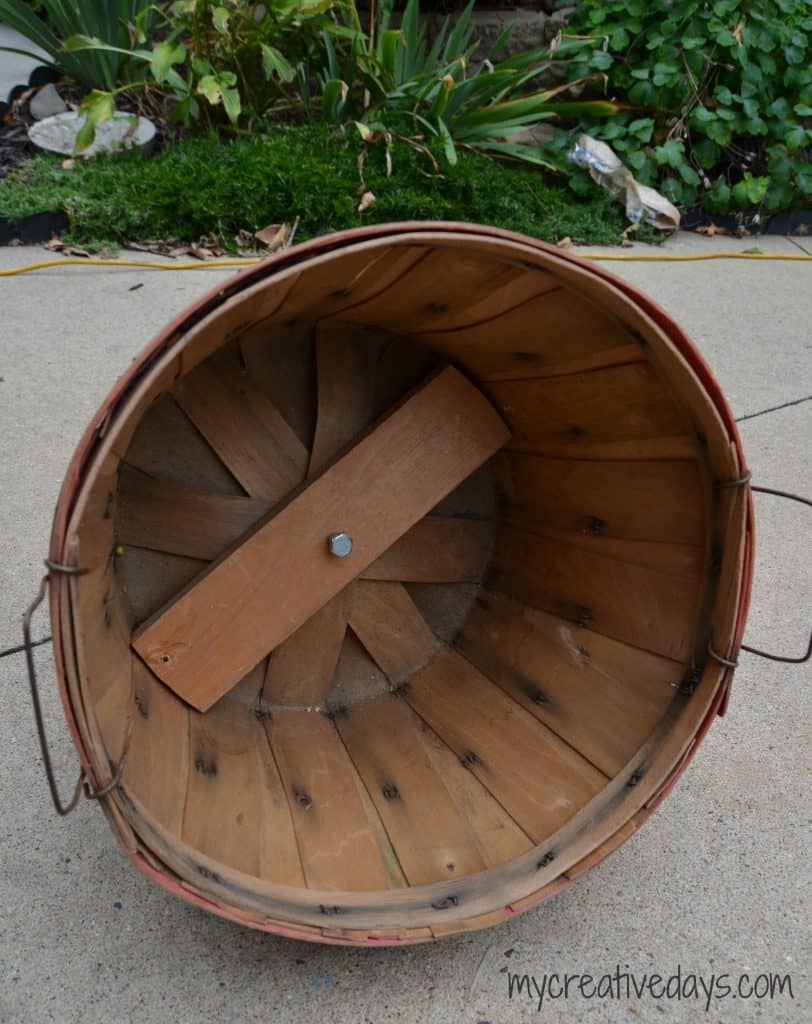
The dowel will connect the two baskets and create the vertical support for your tiered display.
Measure the center of the basket and attach the dowel securely. I used a lag bolt and washer to hold everything together.
Make sure the connection is secure before moving on to the next step. You want the finished basket to be sturdy enough to hold your fall decorations.
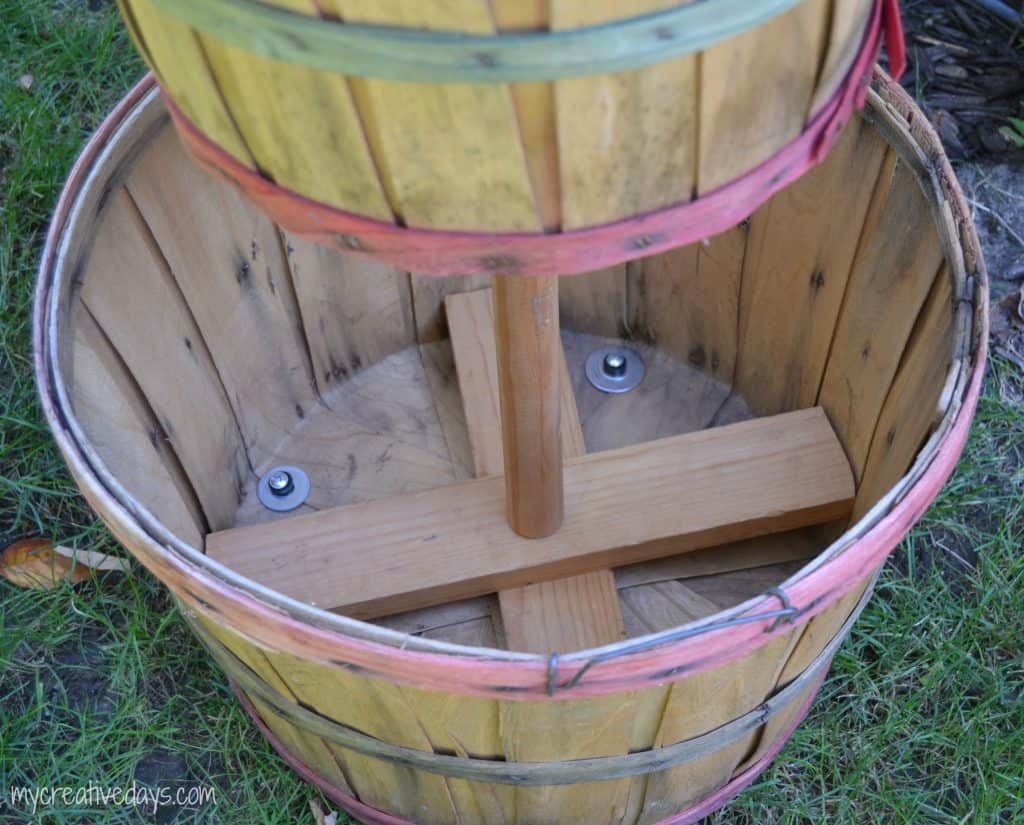
Step 4: Attach the Bottom Basket
Position the second bushel basket underneath the first one and attach it to the dowel.
Take your time with this step and make sure the baskets are centered. A level, centered connection will make the finished piece look much more polished.
Once everything is secured, give the baskets a gentle shake to make sure the structure is stable.
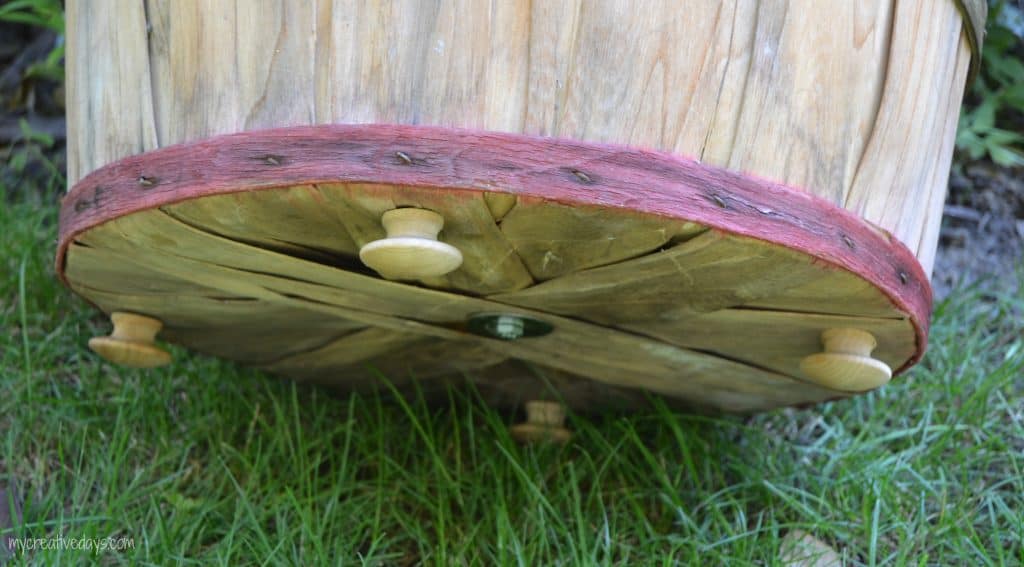
Step 5: Add Feet to the Bottom
I wanted the bottom basket to sit slightly off the ground, so I added wooden knobs to the bottom as feet.
This is one of my favorite details because it was another opportunity to use something I already had rather than buying something specifically for the project.
Attach the feet evenly around the bottom of the basket so the tiered basket sits level.
How to Decorate a Tiered Bushel Basket for Fall
Now comes the fun part!
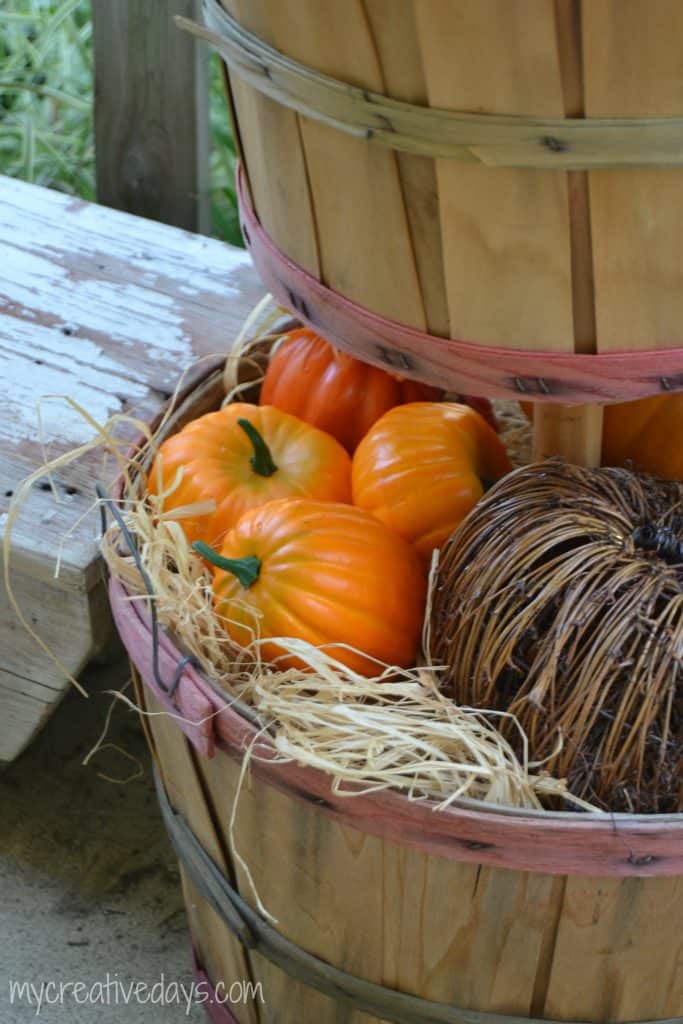
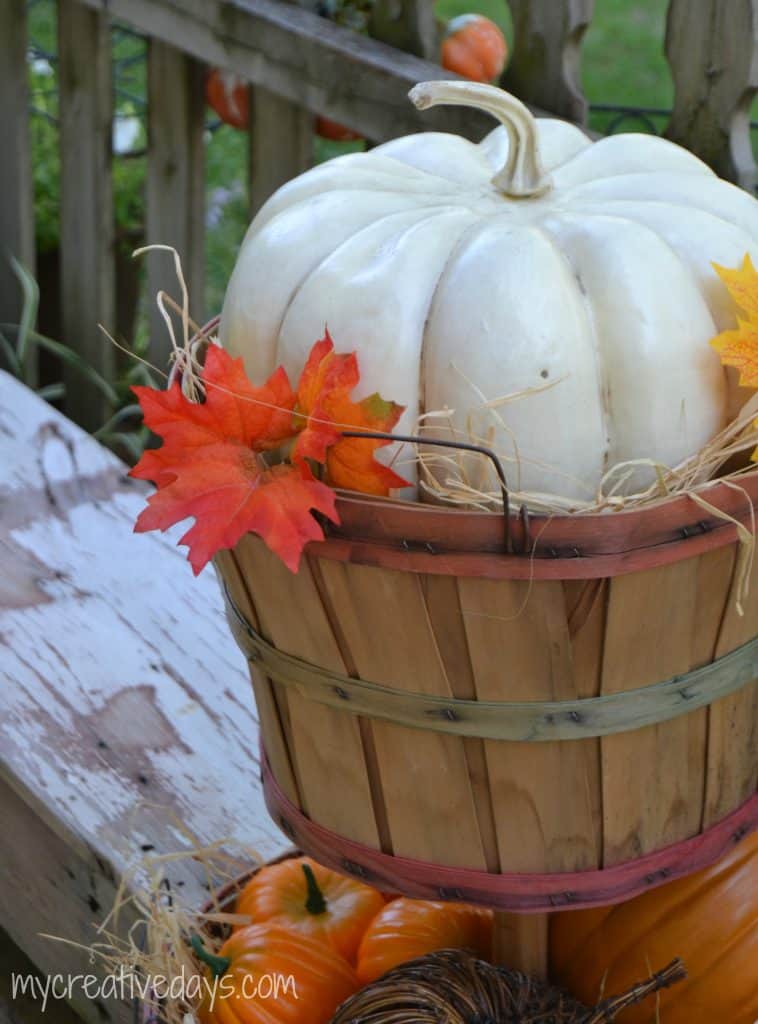
I filled my tiered bushel basket with fall decorations, pumpkins and other seasonal pieces.
The two levels make it easy to create a layered display. I like putting larger items toward the bottom and adding smaller pumpkins, gourds and decorative pieces to the upper basket.
You can also add:
- Faux fall flowers
- Fall leaves
- Small pumpkins
- Mini pumpkins
- Gourds
- Pinecones
- Apples
- Rustic signs
- Wooden fall decorations
- Faux greenery
- Small lanterns
Don’t worry about making everything perfectly symmetrical. A more collected, casual arrangement works really well with the rustic look of the bushel baskets.
Where to Find Bushel Baskets
You don’t have to buy brand-new bushel baskets for this project.
If you love to thrift and repurpose like I do, check:
- Thrift stores
- Flea markets
- Garage sales
- Estate sales
- Facebook Marketplace
- Farm stores
- Your own garage or basement
Look for baskets with good structure rather than worrying about whether they look perfect. Once they’re filled with seasonal decor, those imperfections just add character.
Frequently Asked Questions
Can I use different sizes of bushel baskets?
Yes! Using different sizes can actually create an interesting look. Just make sure the baskets can be securely attached and that the finished structure is stable.
What can I put in a tiered bushel basket?
For fall, try pumpkins, gourds, faux flowers, leaves, pinecones, and other seasonal decorations. You can change the contents throughout the year to create a seasonal display.
Can I use a tiered bushel basket outside?
You can use it on a covered porch or another protected outdoor area, but keep in mind that unfinished wood and other natural materials can weather when exposed to rain and snow.
Where can I find old bushel baskets?
Try thrift stores, flea markets, estate sales, garage sales, and Facebook Marketplace. Don’t overlook baskets that look a little worn—they can be perfect for rustic or farmhouse-style decorating.
Watch My DIY Projects
Prefer to see the projects in action? I share even more DIY projects, furniture flips, thrifted finds, home decorating ideas, and behind-the-scenes projects over on my YouTube channel.
I love being able to show the entire process—from finding something at a thrift store or digging through my stash to figuring out how to give it a whole new purpose.
If you enjoy DIY projects, furniture flipping, thrifting, and decorating on a budget, come hang out with me on YouTube and subscribe so you don’t miss the next project!
Find my YouTube channel HERE.
PIN THIS POST!
If you liked this how to make a tiered bushel basket post, you will love these other fall ideas:
Fall Picnic: 10 Tips For An Easy Fall Picnic
DIY Farmhouse Fall Sign On An Antique Ironing Board
Fall Porch Decor: Mixing Fall & Football
super cute! this came out so nice!
Thank you Tianna!
They were really worth saving. Love the look. Lucky to have Matt to help. He did a great job of making them sturdy and I like the little added feet.
Enjoy,
Audrey Z. @ Timeless Treasures
Thanks Audrey!
What a fabulous addition to your fall decor!!! You did an incredible job of up-cycling those baskets – they have never looked better!!!
Thank you Susan!