

A 3 drawer chest makeover is one of the best ways to give new life to an old piece of furniture. Whether you’ve inherited a vintage chest, picked one up at a thrift store, or saved it from the curb, transforming it can turn it into a show-stopping piece for your home. In this blog post, I’ll walk you through the step-by-step process of restoring and updating a 3-drawer chest to make it both functional and beautiful.
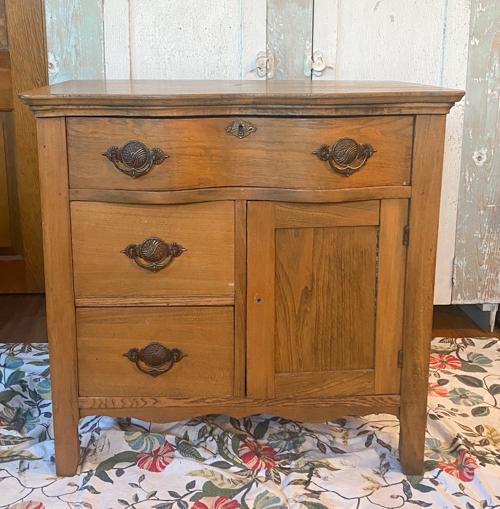
I found this piece a few years ago as a thrift store and my mom had a use for it right away. Fast forward a few years and she was done with it so it was finally time to give it a makeover.
Supplies Used In This 3 Drawer Chest Makeover
{Affiliate links are used in this post. Click on any of the underlined links to find the products and sources I am referring to. You can read my disclosure HERE.}
Old Rags
Step 1: Prepping Your 3-Drawer Chest
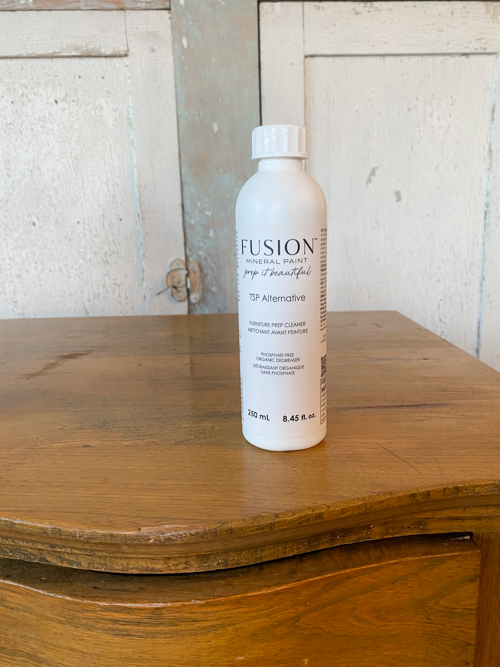
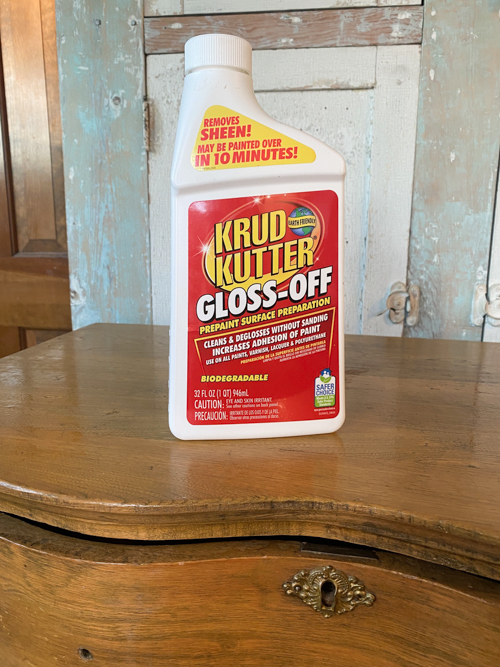
Before diving into the makeover, proper preparation is key. Start by cleaning the entire 3-drawer chest thoroughly. I use a vacuum to clean out the drawers and cabinets. For this makeover, I used a TSP alternative to remove dirt, grime, and oils. This step ensures a clean surface for sanding and painting. Don’t skip this step—it’s the foundation of any great makeover! I then used Gloss-Off on this piece after it was cleaned and to prep it even more for paint.
Step 2: Repairs and Adjustments
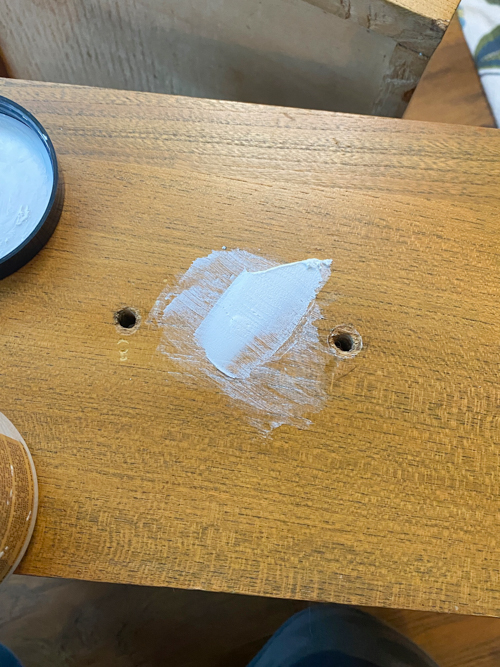
Inspect the 3 drawer chest for any necessary repairs. I used Gorilla Glue to fix a part of the cabinet door that was loose. Then, I used MUD filler to fill the middle holes in the smaller drawers. At this step, you are checking for loose joints, damaged drawers, or missing veneer.
Step 3: Sanding the Chest
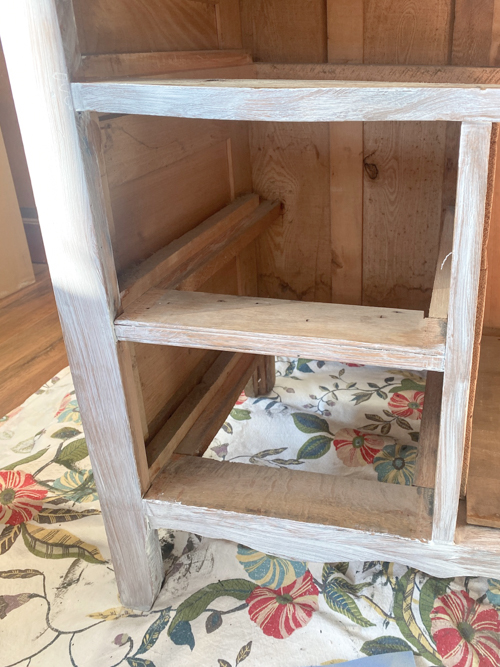
Next, scuff-sand the entire surface of the 3 drawer chest. Sanding removes old finishes, smooths imperfections, and helps the new paint or stain adhere better. I started with a medium-grit sandpaper and finished with a fine grit for a smooth surface. Be sure to wipe away all sanding dust before moving on!
Step 4: Prime
Next, if you aren’t using an all-in-one paint, it is time to prime. I used BOSS primer.
Step 5: Painting
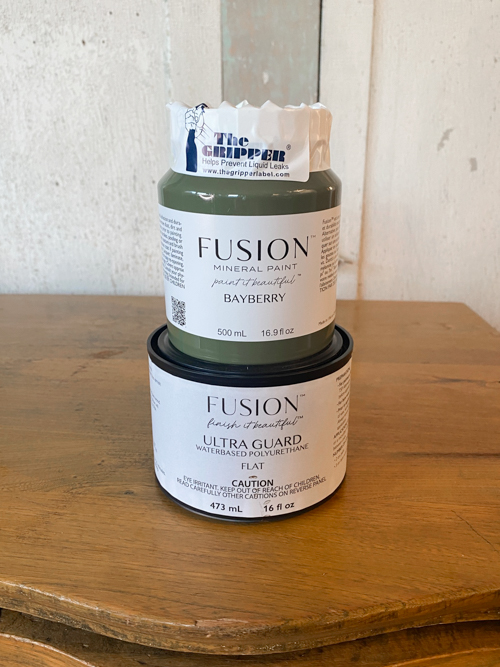
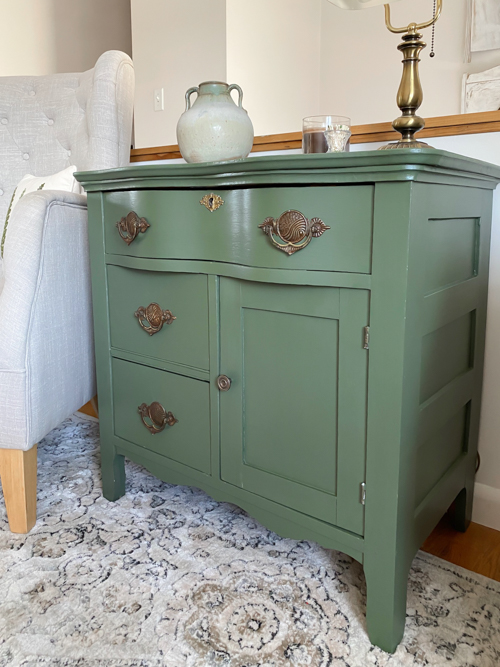
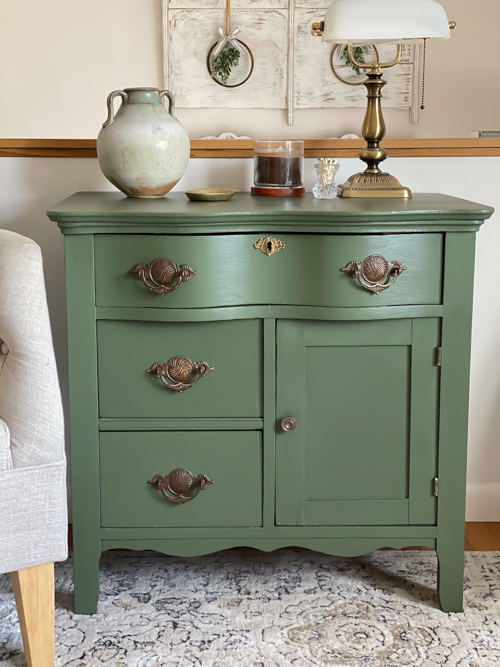
For this makeover, I opted for one of my favorite green paint colors to give the piece a modern touch while maintaining its vintage charm. I used a high-quality brush for the best finish and worked in thin, even coats, allowing ample drying time between layers.
Step 6: Topcoat
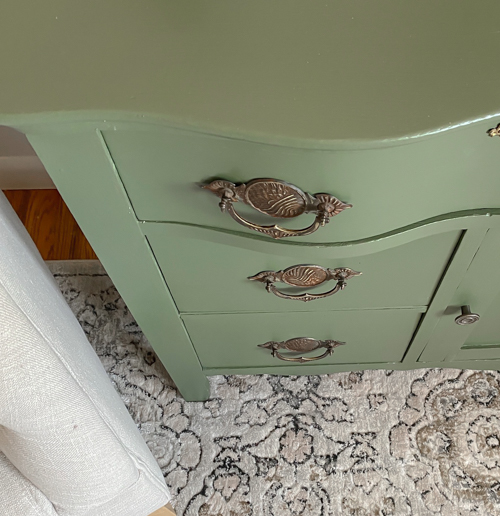
The final step in this 3 drawer chest makeover was the topcoat. I tried the Ultra Guardd topcoat. Adding a protective topcoat finishes the project and ensures durability. Once the topcoat was dry, I put the hardware back on.
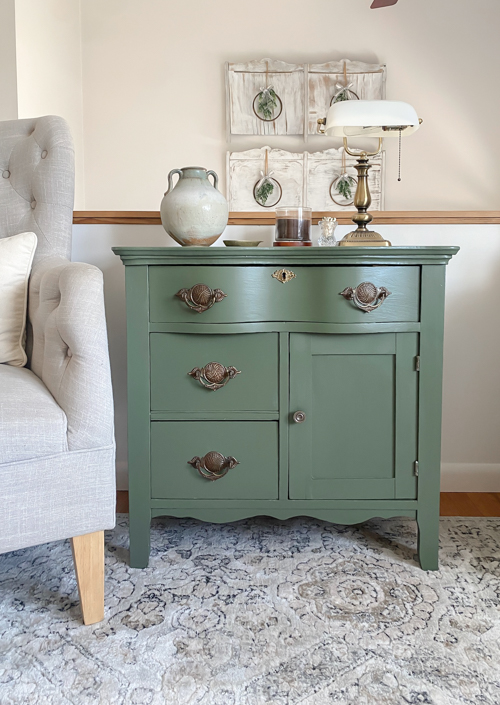
This 3 drawer chest makeover transformed a worn and outdated piece into a beautiful and functional statement for any room. It’s perfect for extra storage while adding charm to the space. Whether you’re new to furniture makeovers or have years of experience, tackling a 3 drawer chest is a fun and rewarding project that anyone can do.
Curious About Flipping Furniture?
After more than twenty years of flipping furniture, I still pick up pieces whenever I can because I love the creative outlet. What started as a way to transform forgotten pieces has grown into something I now help others learn and enjoy, too.
That’s why I created The Furniture Flipping Academy. It is not just a course, but an all-in-one resource you can use at any stage of your journey.
Whether you want to try one project, flip occasionally for extra income, or grow it into something more over time, the Academy meets you where you are. Inside, you’ll find practical tools like worksheets, templates, guides, and real-life examples you can use when you need them. There is no pressure. No overwhelm. No requirement to turn it into a full-time business.
You don’t need experience or a huge following. You just need a starting point and a trusted resource to guide you.
Find all the details (and the new LOW PRICE) for the Furniture Flipping Academy HERE.
PIN THIS POST!
1 Comment