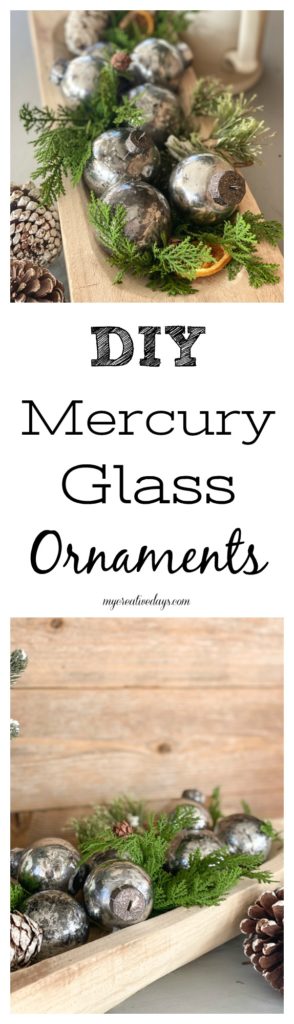
These DIY Mercury Glass Ornaments are so easy to make and they look fabulous in the end!
This was one of those projects that I just had to try and I was so happy with the outcome, I had to share it.
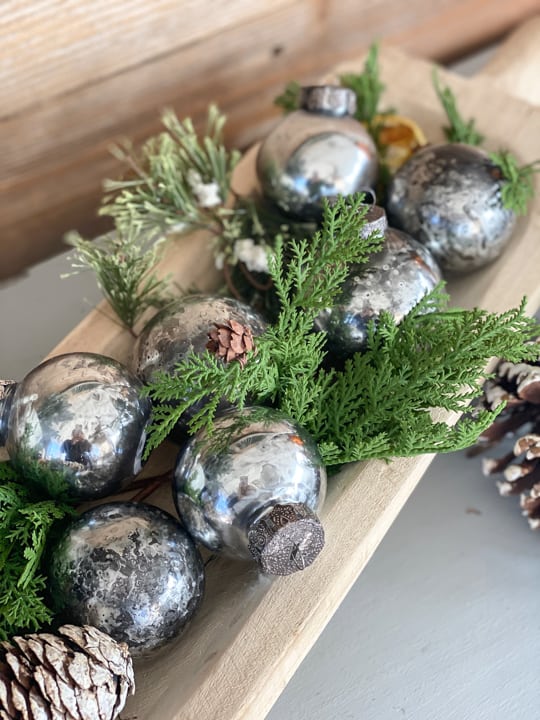
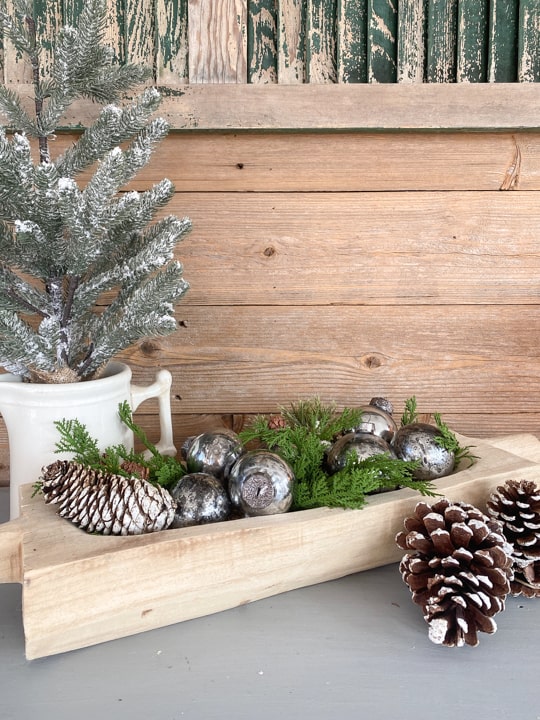
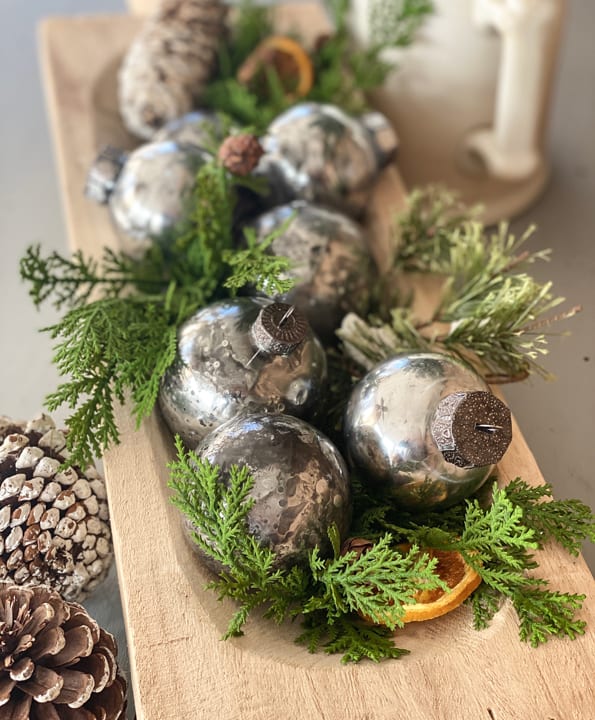
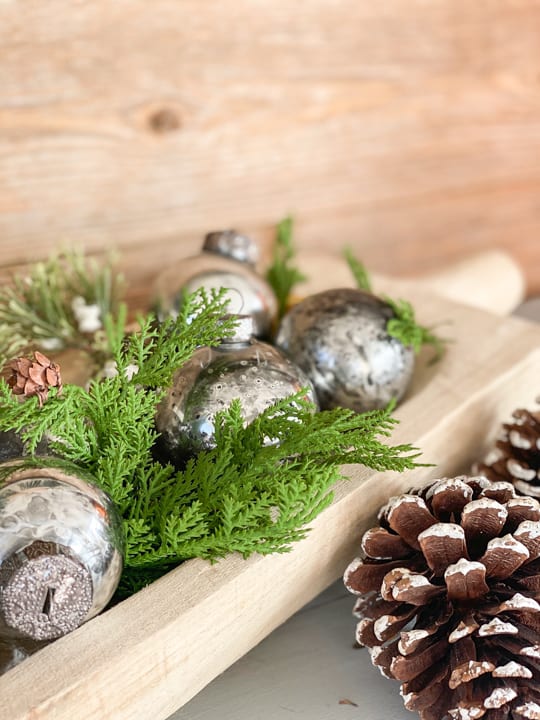
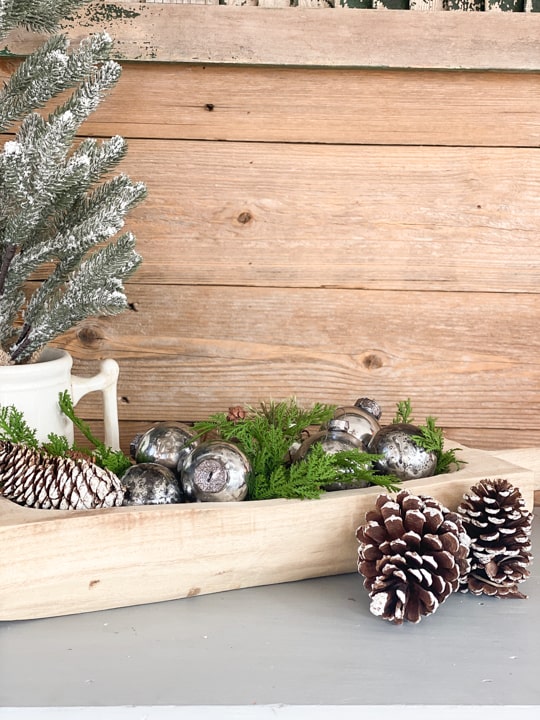
I love mercury glass ornaments. They look old and have a ton of character. I have seen a lot of knock-offs over the past couple of years that were really good dupes. I have never bought any and hope to run into the real deal sometime when I am at a thrift store, yard sale, or estate sale. Until then, I thought I would try and DIY some and see how well it worked. I am excited to share the process with you today and show you the products that worked best for me.
{Affiliate links are used in this post. Click on any of the underlined links to find the products I am talking about. You can read my disclosure HERE.}
Supplies Used To Make These DIY Mercury Glass Ornaments:
Clear Ornaments (I used both glass and shatterproof and it worked fine on both)
Looking Glass “Silver” Spray Paint
Forged Hammered “Burnished Amber” Spray Paint (You can make them in any color spray paint you want. I tried gold and green. I liked the gold, not the green so much.)
Hair Dryer
Spray bottle filled with 50/50 water and vinegar
Velvet Ribbon (if you wanted to string the ornaments)
Here is a video showing you the easy steps to creating these DIY Mercury Glass ornaments:
Make sure to SUBSCRIBE to my YouTube channel to see all the projects and ideas I am sharing!
As you can see from the video, I tried the process with both the shatterproof ornaments and the glass ornaments. They both worked fine. I like the glass ornaments the best, but they aren’t very “kid-friendly” so use the shatterproof ones if you are worried about that.
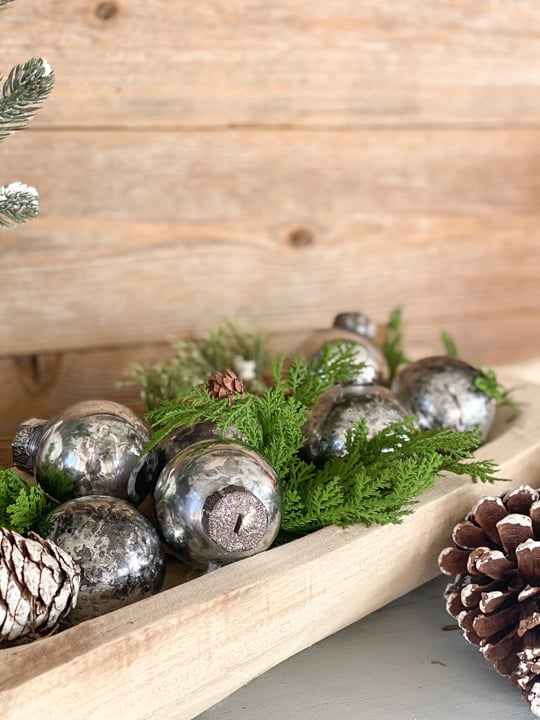
I also tried different colored spray paints. I liked the hammered color the best, but the gold was pretty too. Green is my favorite color, but I didn’t like that at all. It just depends on what colors you like and the look you are going for.
I would highly recommend using a hairdryer. I tried to let some of them air dry and I don’t think they came out with the same look. The hairdryer gives a great patina and it also speeds up the process which is perfect for someone who doesn’t have a lot of DIY patience. 😉
The Step By Step Process I Did To Make These Ornaments:
- Remove the top of the ornament and cut the ribbon or string off.
- Shake the Looking Glass spray paint and spray once into the ornament.
- Roll the spray paint all around inside the ornament.
- Use the hairdryer as you move the paint around until it dries.
- Spray one more spray of the Looking Glass paint into the ornament and then one squirt of the vinegar/water mixture.
- Move the paint and the vinegar/water mixture all around inside the ornament while holding the hairdryer at the opening of the ornament. You don’t need the hair dryer set at a hot setting. It just needs to be warm enough to dry the paint and water, but cool enough so you aren’t burning your hands while you hold the ornament.
- Once the silver paint and water are dry, it is time to spray one squirt of the hammered color (or color of your choice) inside the ornament. Move this paint all around inside the ornament while holding the hairdryer at the opening of the ornament. This is where the magic happens. This is when it will start looking like a mercury glass ornament.
- If you aren’t happy with the look, you can always repeat the steps to get the look you like.
- Once you have the look you like, repeat the process with the rest of the ornaments.
- Spray paint all the tops of the ornaments in the color you like and when they are dry, return them to the tops of the ornaments.
I would love to know if you try this project! If you do, please post a photo on Instagram and tag me (@mycreativedays) so I can see it.
PIN THIS POST!
If you liked this easy DIY, you will also love these fun, holiday projects:
Upcycled Ribbon Spool Christmas Trees
DIY Wood Burned Christmas Tree Garland
This is fantastic. Definitely doing this for Christmas. Thanks for sharing. The ornaments look very, very convincing. Lightly spray painting the tops finished off the look.
so glad you liked it! they look great and its an easy project to do
Great tutorial! Thanks so much for sharing! I am definitely going to try this!
Your welcome! Have fun!
What is the reason for the vinager and water?
That’s what I did and it worked!
I’m just coming across this DIY & I can’t wait to try it! Thank you so very much for sharing!
You’re welcome! Such an easy project that looks like the real thing!
Hi Lindsay,
I just found this great tutorial! I bought a ton of beautiful glass ornaments on sale, and would love to make these mercury glass ornaments. Unfortunately, there is no opening! Is there anyway to dip them or spray the outside which isn’t too messy? I would appreciate your help.Thanks!
I am not sure how you would do that. I have this process but not sure if it would work but worth a try. Here is the tutorial: https://www.mycreativedays.com/diy-antique-mirror/