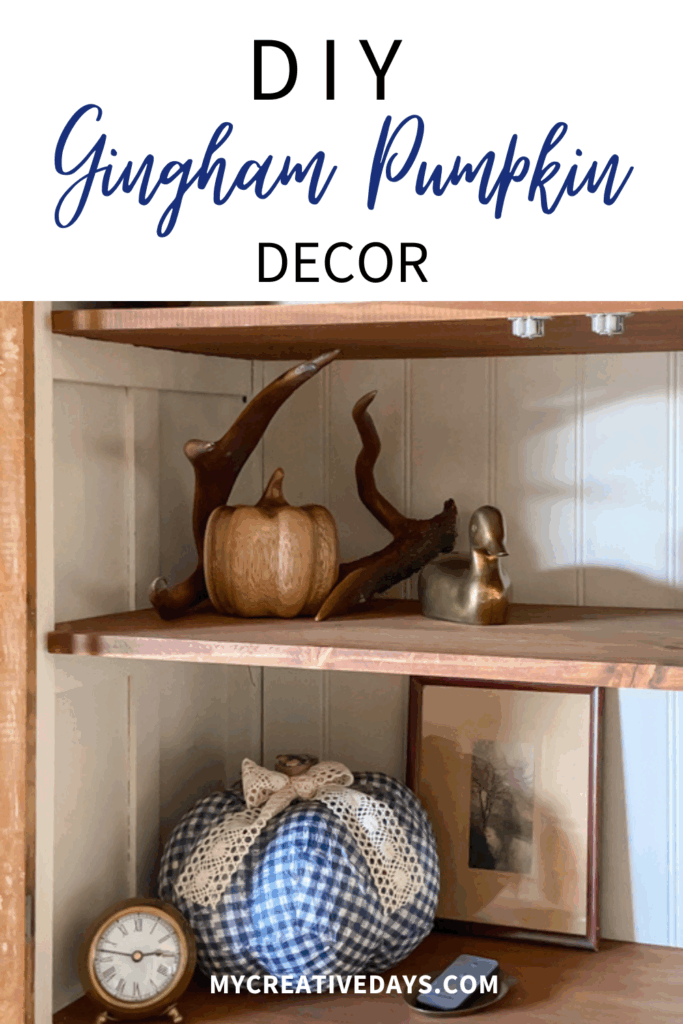
If you’re looking for a fun and easy way to add cozy charm to your fall home, this DIY Gingham Pumpkin Decor project is just what you need! Gingham is such a classic pattern that works beautifully for autumn decorating, and adding it to pumpkins creates a look that’s perfect for any room in your home. This project is beginner-friendly, budget-friendly, and a great way to customize your fall decor.
Why You’ll Love This DIY Gingham Pumpkin Decor
- Affordable: Most supplies can be found at the dollar store, craft store, or thrift store.
- Customizable: Choose any color of gingham paper napkin to match your home.
- Easy to Make: This project comes together quickly. No special skills required!
- Timeless: These pumpkins can be used year after year.
{Affiliate links are used in this post. Click on any of the underlined links to find the products I am talking about. You can read my disclosure HERE.}
DIY Gingham Pumpkin Decor Supply List
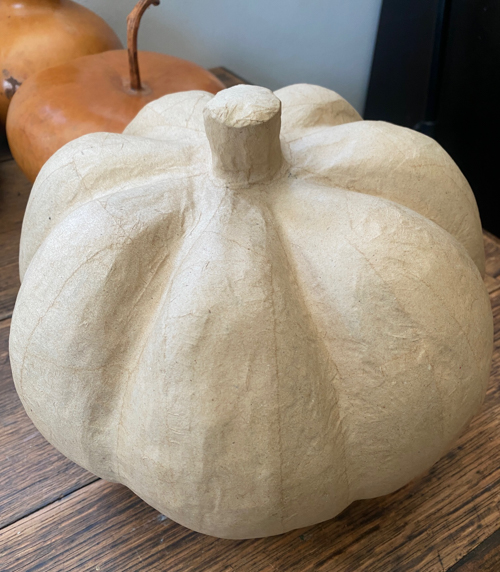
- Craft Paper Mache Pumpkins
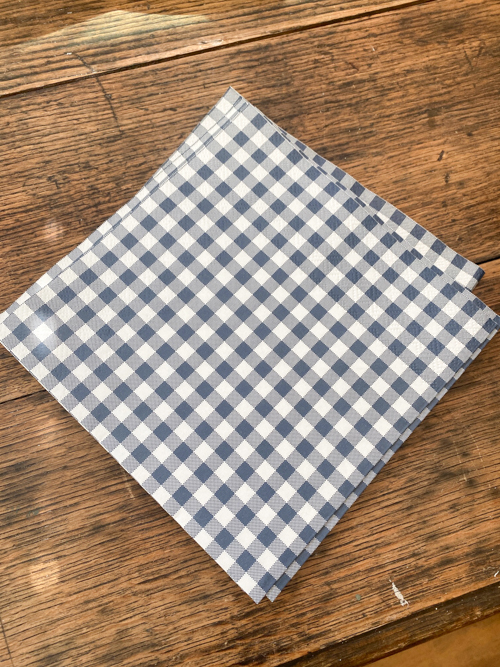
- Gingham Napkins
- Mod Podge or white school glue thinned out with water
- Paintbrush
- Scissors
- Ribbon, raffia, or twine (optional for stems)
How to Make DIY Gingham Pumpkin Decor
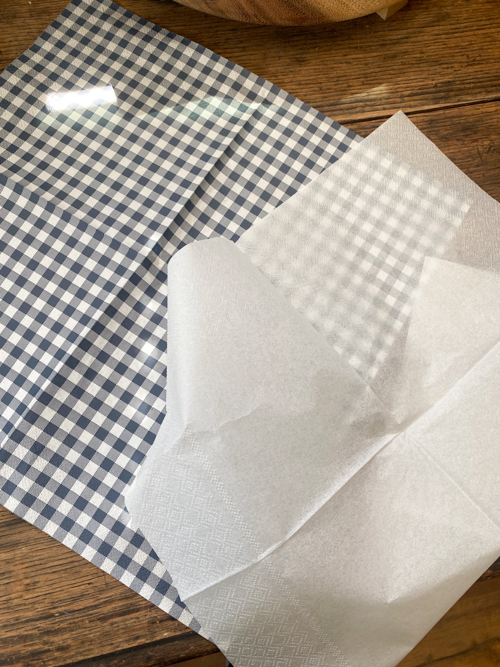
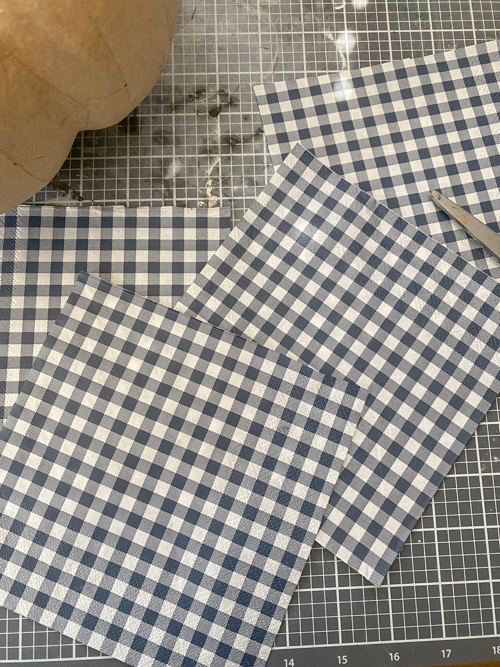
- Cut Your Gingham Napkins
If your napkins are 2-ply, separate the back from the gingham front. You just want the first layer of the napkin. Then, cut your gingham napkins in 4 using the folded lines as guides. Smaller pieces are easier to work with on curved surfaces.
- Apply Mod Podge
Using a paintbrush, apply a thin layer of Mod Podge (or school glue with a water mixture) directly onto the pumpkin where you will place the napkin. - Attach the Gingham
Lay your napkin onto the Mod Podge and smooth it down with your fingers, making sure there are no air bubbles. Repeat until the entire pumpkin is covered. I layered mine, but you could cut your napkins in stripes and not layer at all. Just depends on how you want it to look. - Seal the Pumpkin
Once your pumpkin is completely covered, brush on a thin topcoat of Mod Podge (or glue) to seal and protect it. Allow it to dry completely. I did several coats of the napkins to cover the paper mache color and the pumpkin completely. - Add Finishing Touches
Tie ribbon, raffia, or twine around the stem for a finished look. You can even add a little tag or charm for a custom touch.
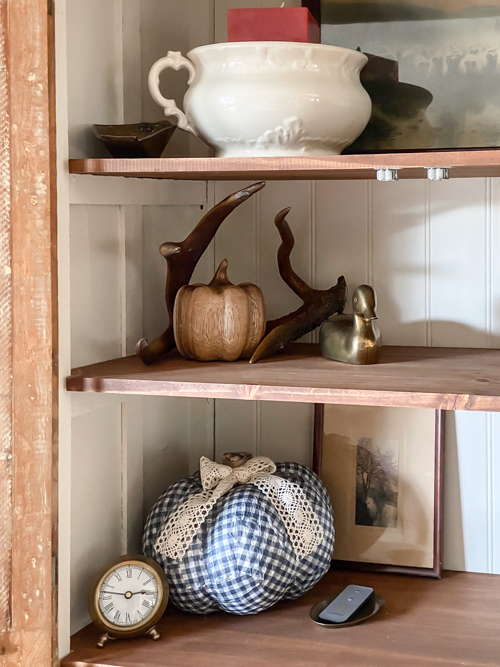
DIY gingham pumpkins add warmth and texture to your seasonal decor and are so versatile. This project is a fun way to bring a classic fall pattern into your home.
If you loved this DIY Gingham Pumpkin Decor project and want to see more makeovers and tutorials as they happen, head over to my YouTube channel and subscribe. You’ll get to watch projects like this one come together step by step in real time!
PIN THIS POST!