

When I brought this piece home from my local thrift store, I knew the first thing I needed to do was remove paint from vintage table before I could even think about making it over. It had incredible bones, beautiful legs, solid wood, great size, but it had been painted the worst shade of green. Not charming vintage green. Not soft farmhouse green. Just… bad green. It was also chipping in a way that was not “good chipping”, if you know what I mean.
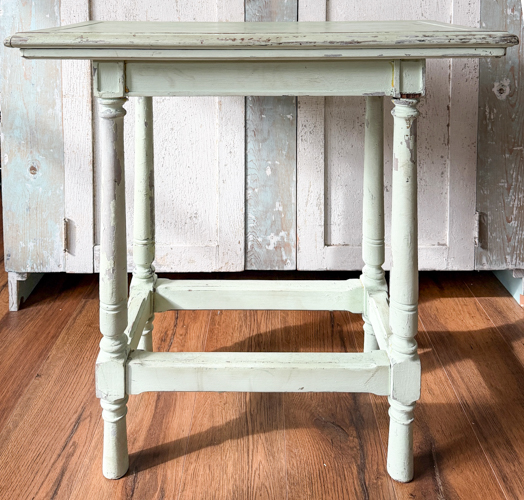
I knew I was going to remove the paint, but I needed to see how that went and what was underneath before I could choose the kind of makeover this would be. After removing some of the paint, I knew I would have to repaint it.
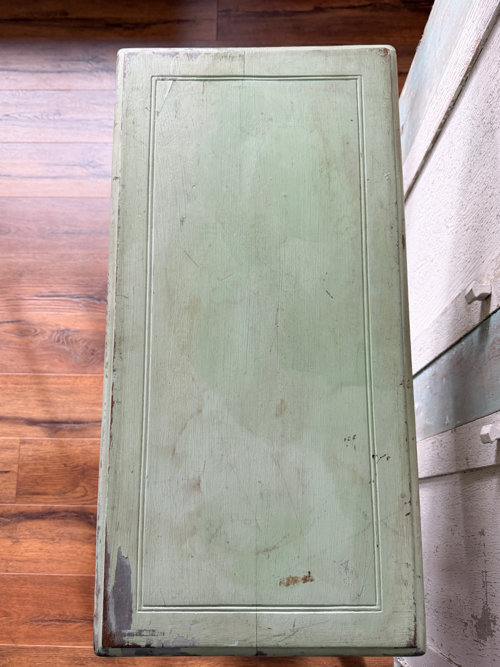
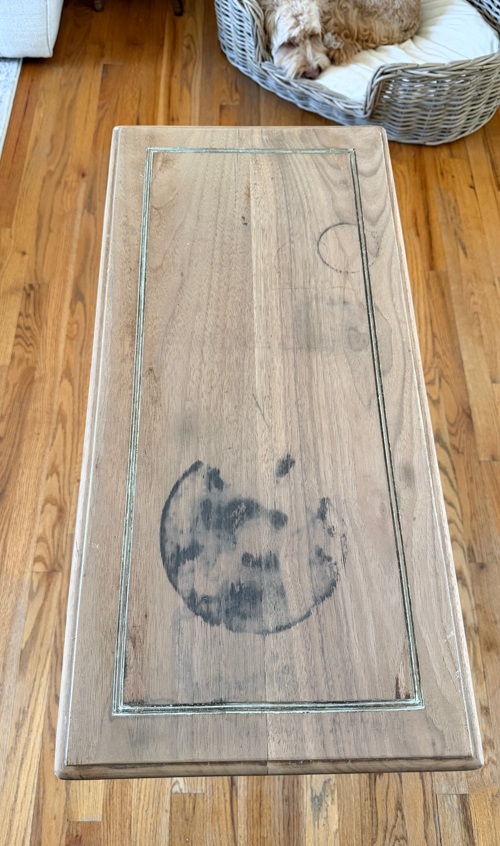
There can be a stigma around repainting vintage furniture. Some people believe every piece should be stripped to bare wood and fully restored. And sometimes that’s true. But not every project is worth restoring, and that’s okay. As I started stripping it with my heat gun, I discovered deep black water rings on the top. That sealed the deal for me. This table wasn’t meant to be refinished. It was meant to be repainted the right way.
{Affiliate links are used in this post. Click on any of the underlined links to find the products I am talking about. You can read my disclosure HERE.}
Supplies I Used In This Remove Paint From Vintage Table Makeover
- Heat Gun
- Putty Knife
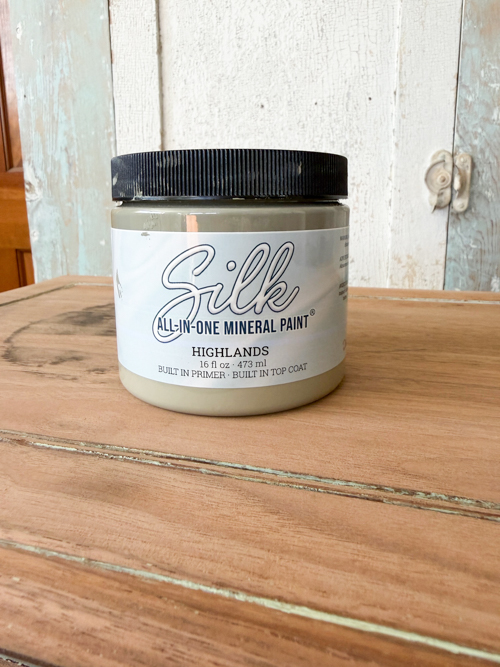
- All-In-One Paint
- Orbital Sander
- Paintbrush
- Damp rag to wipe off sanding dust
How to Remove Paint from Vintage Table
Step 1: Use a Heat Gun
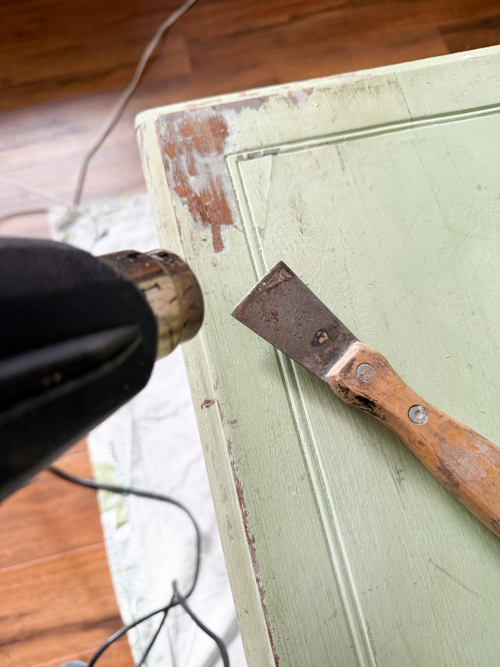
For this piece, I wanted to see if the heat gun would work to remove paint from vintage table. This method is less messy than a liquid stripper. Make sure to check the paint for lead before doing this. You can see how to do that in my post HERE.
When using a heat gun, work in small sections at a time. As the paint heats up, use the putty knife to scrape the paint away. You don’t want to gouge the wood at all. Let the heat gun do the work. If this process is going to work, the paint should be easy to remove with the putty knife.
Tips for using a heat gun:
- Don’t want to put the heat gun too close to the piece.
- Don’t turn your heat gun to the highest heat.
- It takes a little bit of practice, so work in an inconspicuous area first. Once you get the hang of it, it is easy.
- Take your time. Don’t rush it. Keep the heat gun moving so you don’t scorch the wood underneath.
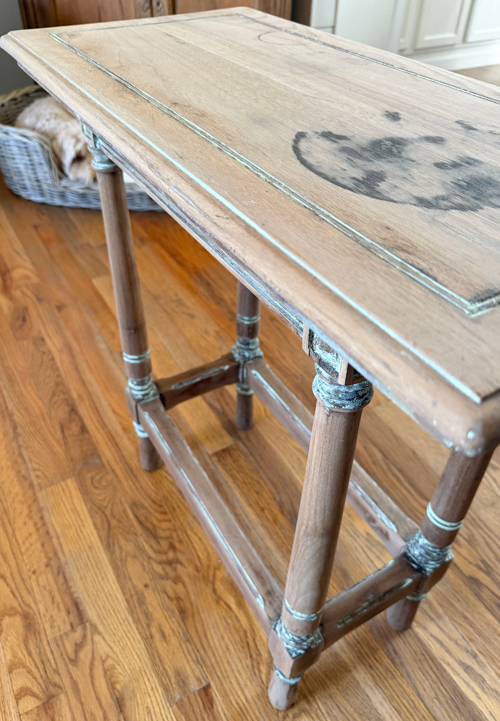
For this vintage table, the heat gun helped me remove the majority of that horrible green paint and gave me a much better surface to work with.
Step 2: Sand the Entire Table
After stripping as much paint as possible with the heat gun, I went over the entire piece with my orbital sander. When I sanded the top, that’s when the black rings really showed themselves. They were deep. Water damage like that doesn’t always sand out completely, and this confirmed my decision to repaint instead of trying to restore the wood.
Some projects just aren’t worth restoring to the original state, and that’s okay.
Step 3: Clean Off All Sanding Dust
This step is simple but so important. After sanding, I wiped the entire table down with a damp cloth to remove all dust and debris. Paint will not adhere properly to a dusty surface, so don’t skip this. Once it was wiped down and fully dry, it was ready for paint.
Step 4: Apply Your All-in-One Paint
I used my favorite all-in-one paint for this makeover. I love it because it already includes primer, paint, and topcoat all in one formula. That means:
- No separate priming step
- No additional sealing step
- Fewer coats
- Less time
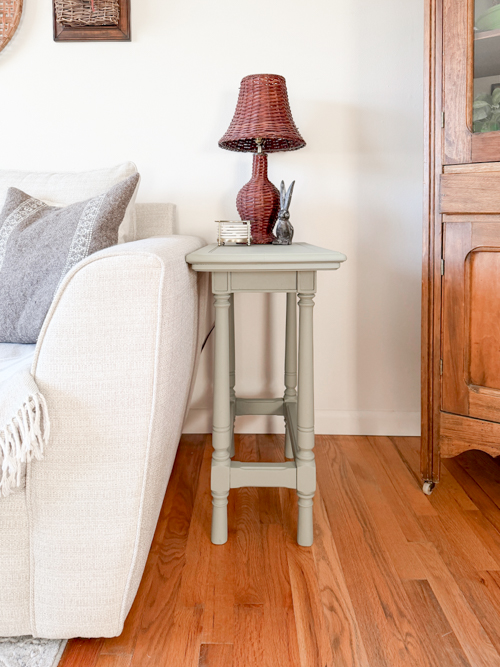
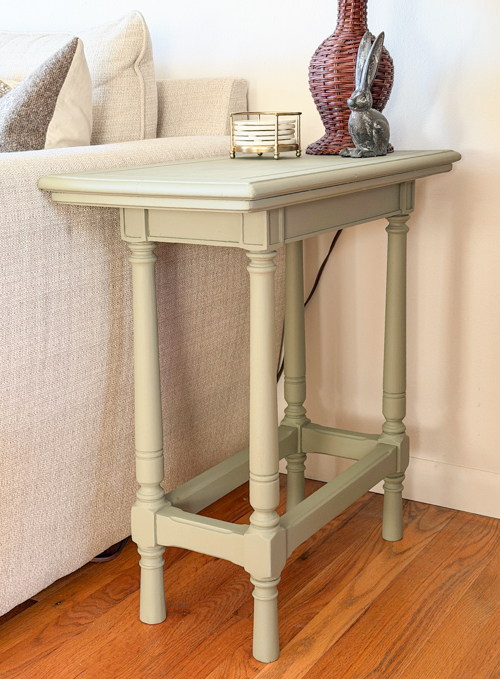
It took just two coats to completely cover everything, even those stubborn black rings on the top. I’m still amazed at how well it covered. This paint is unbelievable.
Why Removing Old Paint First Matters
Even if you plan to repaint a piece, removing as much old paint as possible:
- Prevents chipping and peeling later.
- Creates a smoother, more professional finish.
- Helps your new paint adhere better.
- Eliminates texture buildup from multiple old layers.
Skipping this step can lead to problems down the road. Prep work may not be glamorous, but it’s what separates a quick flip from a lasting makeover.
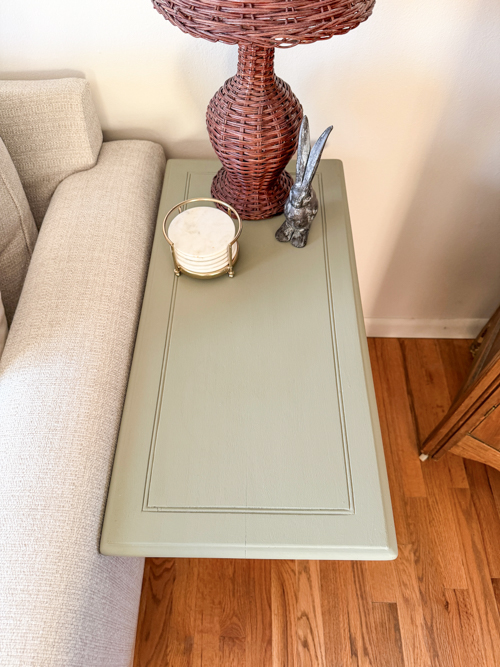
This vintage table had incredible bones, but wasn’t worth fully restoring to raw wood. Not every project needs to be stripped down and stained. Sometimes, repainting is the best choice, especially when you’re dealing with heavy damage like deep black water rings.
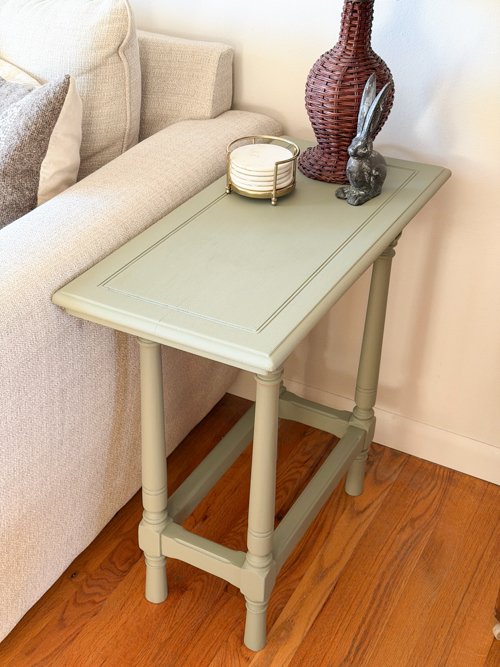
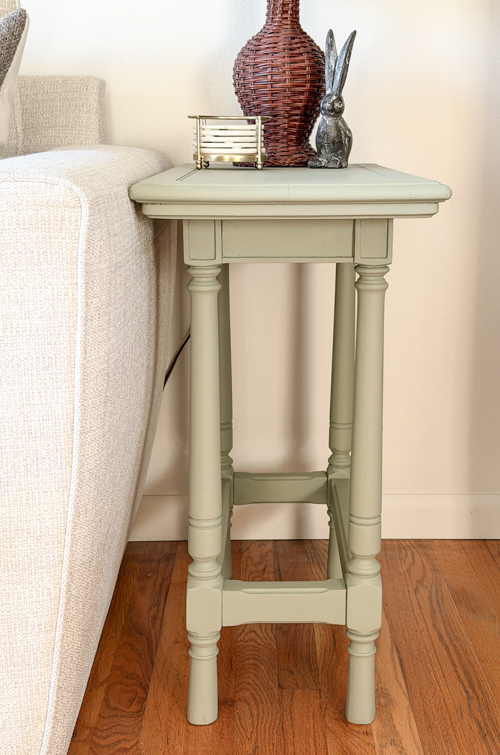
Taking the time to remove paint from vintage table before repainting made all the difference in how this makeover turned out. The surface is smooth, the coverage is flawless, and the finish looks brand new.
If you’ve ever found a thrifted piece that was painted in a questionable color, don’t let that stop you. With the right prep and a little patience, you can completely transform it.
And sometimes? Starting over is exactly what a piece needs.
Curious About Flipping Furniture?
After more than twenty years of flipping furniture, I still pick up pieces whenever I can because I love the creative outlet. What started as a way to transform forgotten pieces has grown into something I now help others learn and enjoy, too.
That’s why I created The Furniture Flipping Academy. It is not just a course, but an all-in-one resource you can use at any stage of your journey.
Whether you want to try one project, flip occasionally for extra income, or grow it into something more over time, the Academy meets you where you are. Inside, you’ll find practical tools like worksheets, templates, guides, and real-life examples you can use when you need them. There is no pressure. No overwhelm. No requirement to turn it into a full-time business.
You don’t need experience or a huge following. You just need a starting point and a trusted resource to guide you.
Find all the details (and the new LOW PRICE) for the Furniture Flipping Academy HERE.
PIN THIS POST!
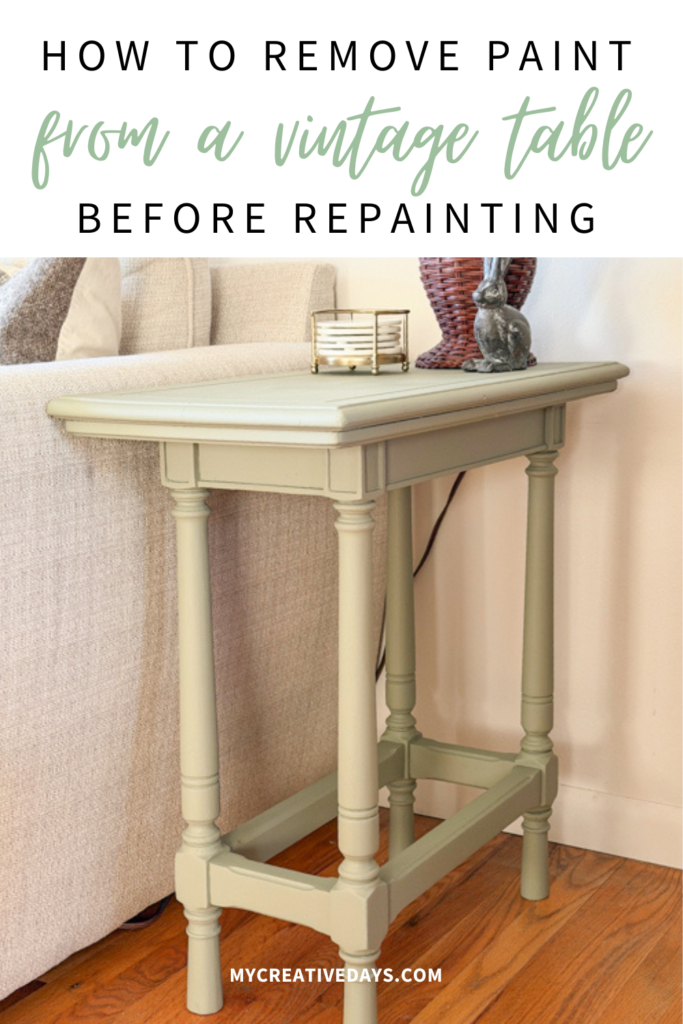
I love how this turned out. What a perfect little table for next to the sofa. Love the color you chose, as well.