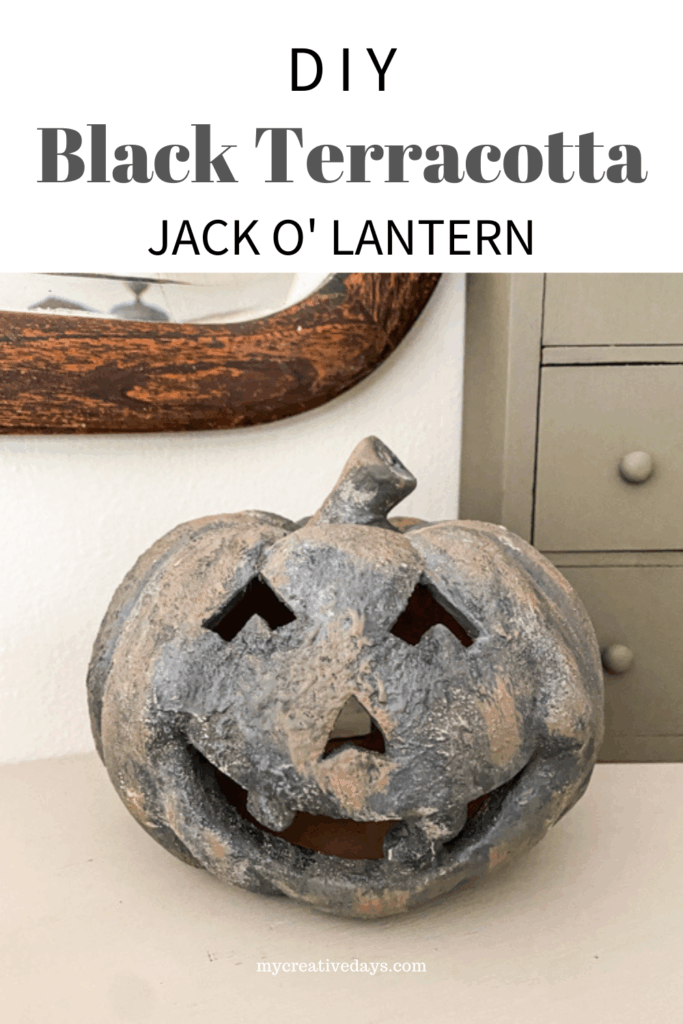
When I spotted the Black Terracotta Jack O’ Lanterns on PotteryBarn.com, I couldn’t believe the price tag. They are gorgeous, but I knew I could make my own DIY Black Terracotta Jack O’ Lantern for so much cheaper. This project is simple, budget-friendly, and the results look just like the high-end version.
The best part? I found my ceramic jack-o-lantern for just $1.99 at the thrift store! With a little paint that I had on hand and some creativity, I transformed it into a chic DIY Black Terracotta Jack O’ Lantern that looks like it came straight from Pottery Barn. The cost of the real ones is $119 and down, depending on the size. Mine was $1.99 because I had all the other supplies already on hand. I LOVE that cost difference. Projects like this are something I have done for years. Find something I love and recreate it for a fraction of the cost. It fuels my creative soul.
Let’s get into the project!
Why Make a DIY Black Terracotta Jack O’ Lantern?
- Save $$$ on decor that looks just like the expensive version.
- Customize the look with your favorite paint colors.
- Enjoy a fun, seasonal DIY that doubles as decor.
- Repurpose thrifted finds into trendy home pieces.
{Affiliate links are used in this post. Click on any of the underlined links to find the products I am talking about. You can read my disclosure HERE.}
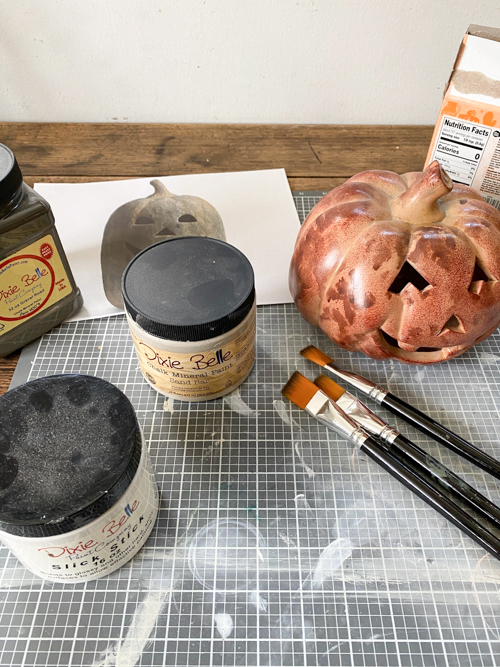
Supplies I Used for this project:
- Ceramic jack-o-lantern (thrifted for $1.99)
- Bonding BOSS
- Gray Paint
- Black Paint
- Brown Paint
- Beige Paint
- Baking Soda
- Paintbrush/Cotton ball/Paper Towel
- Water
- Sealer (optional)
How to Make Your DIY Black Terracotta Jack O’ Lantern:
- Prep the Piece: Wipe down your ceramic jack-o-lantern to remove dust.
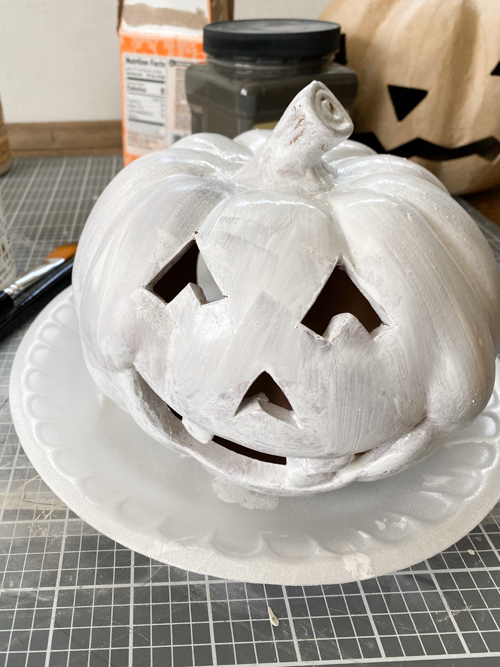
- Primer Coat: I applied Bonding BOSS all over the pumpkin so the paint would adhere to the smooth surface better.
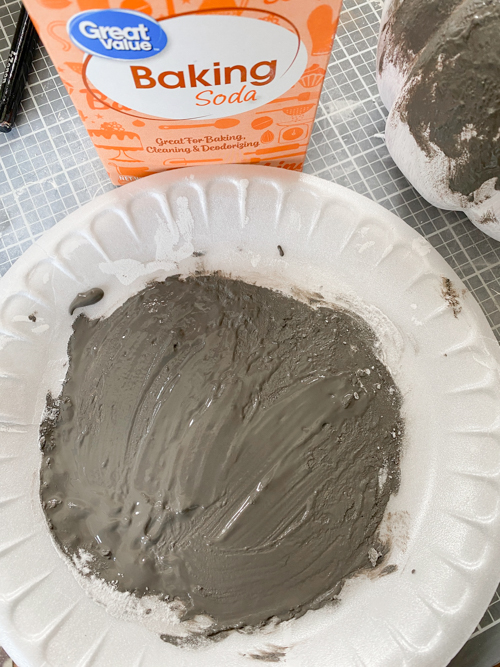
- Mix Textured Paint: I mixed baking soda into the base coat gray color to get a textured paint.
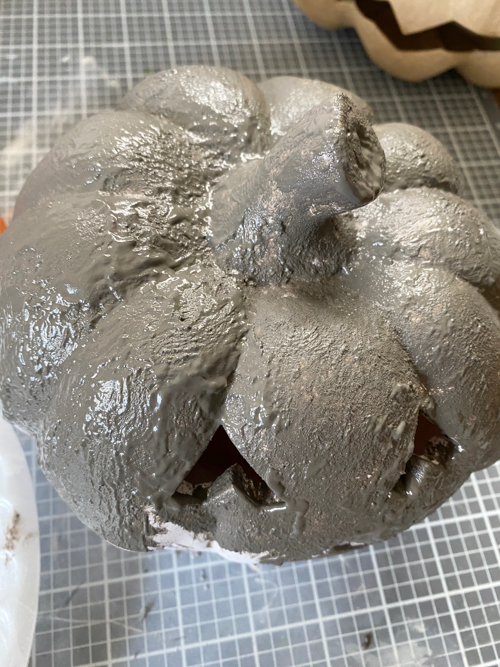
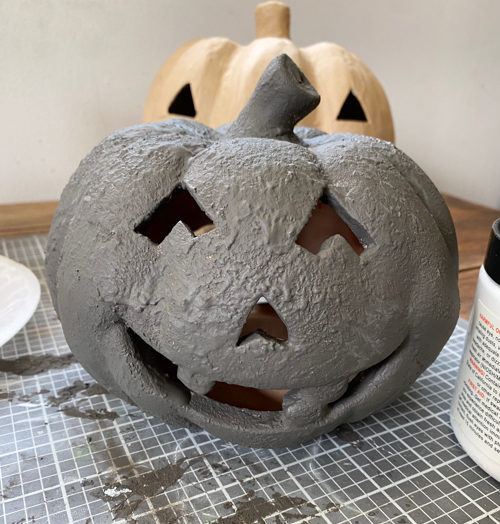
- Base Coat: Paint the entire pumpkin in your textured gray paint.

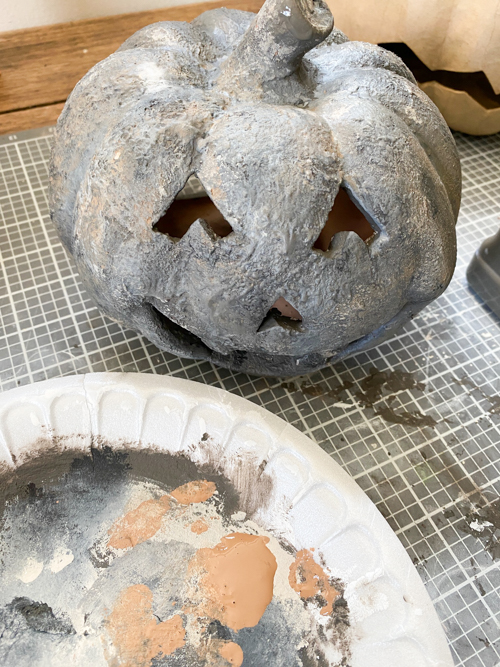
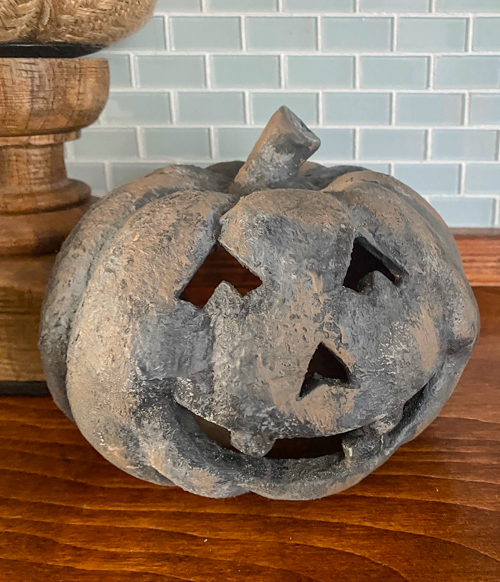
- Layer Colors : Once the base layer is dry, it is time to dab, rub, and wipe your other colors to get the look you want. I used cotton balls, a paintbrush, and paper towels for this. I layered black, beige, and brown paint to get the look of the Pottery Barn inspiration pumpkin. You may find adding water to your paint will help spread the color less harshly. This step just takes a lot of patience and building of colors to get the look you are going for.
- Seal (Optional): I didn’t do this with mine, but you definitely can.
Watch the Transformation
Want to see this DIY Black Terracotta Jack O’ Lantern come together in real time? Watch my full tutorial on YouTube HERE:
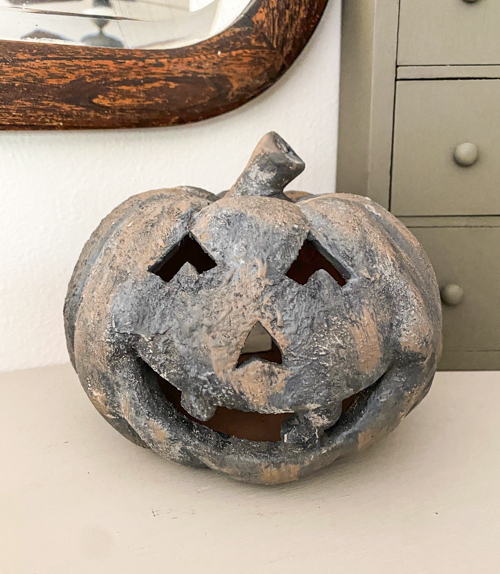
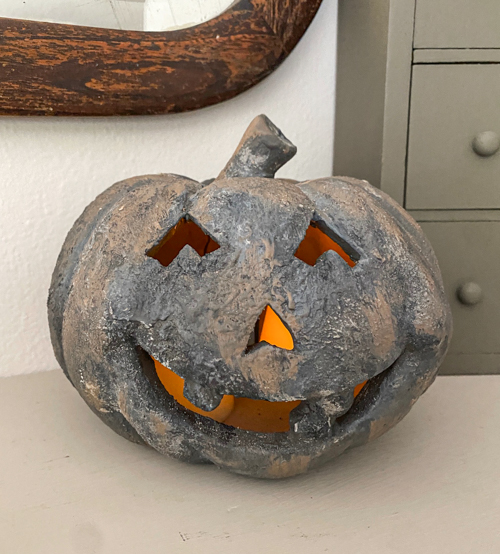
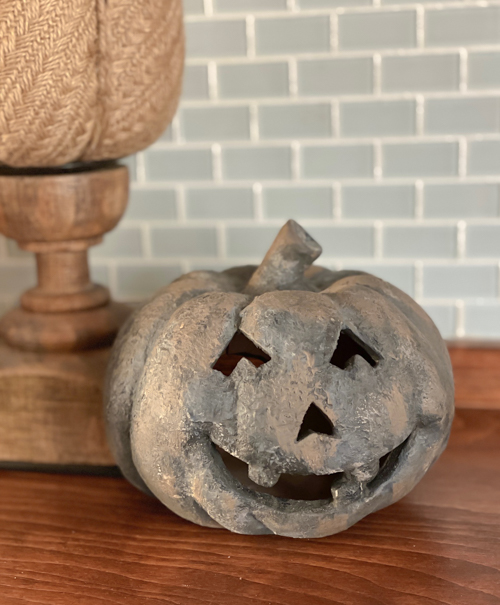
I love how this DIY Black Terracotta Jack O’ Lantern turned out. It’s proof that you don’t have to spend a fortune to get the look you want. That is exactly the motto My Creative Days was started on!!!! With just a thrifted ceramic pumpkin and some paint, you can create high-end Halloween decor for a fraction of the price.
PIN THIS POST!