If you’re wondering how to paint kitchen cabinets without sanding, you’re not alone. Whether you’re working on a budget, short on time, or just trying to avoid a giant mess, skipping the sanding step can save serious effort—if you do it the right way.
In this post, I’ll show you exactly how to get a long-lasting, beautiful finish without ever picking up sandpaper—plus the products I’ve personally used and recommend.
🛑 Important Note: Sanding will always give you the best adhesion and durability, but with proper cleaning, prep, and the right products, you can still get amazing results without it.
What You Need to Know Before You Start
Sanding gives paint something to grip onto—but it’s not the only way to achieve good adhesion. Thorough cleaning and smart product choices can give you a durable finish without the mess.
How to Paint Kitchen Cabinets Without Sanding
{Affiliate links are used in this post. Click on any underlined links to find the products and sources I am referring to. You can read my disclosure HERE.}
Step 1: Clean the Cabinets Thoroughly
This step is non-negotiable. Kitchen cabinets are magnets for grease, grime, and buildup—even if they look clean.
🧼 What to use:
-
A degreaser like TSP or Krud Kutter.
-
Warm water and a scrub sponge. rags, any tools you like to use to clean.
Let them dry completely before moving on.
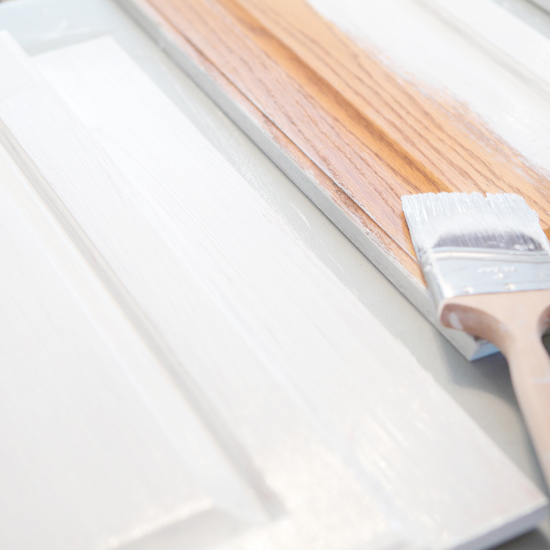
Step 2: Use a Liquid Deglosser (Optional but Smart)
If your cabinets have a shiny or slick finish, applying a liquid deglosser (aka liquid sandpaper) will dull the surface just enough to help paint stick—no sanding required.
🔧 Recommended: Krud Kutter Gloss-Off
Wipe it on with a lint-free cloth and let it dry.
This is the key to making your paint last. You have two options:
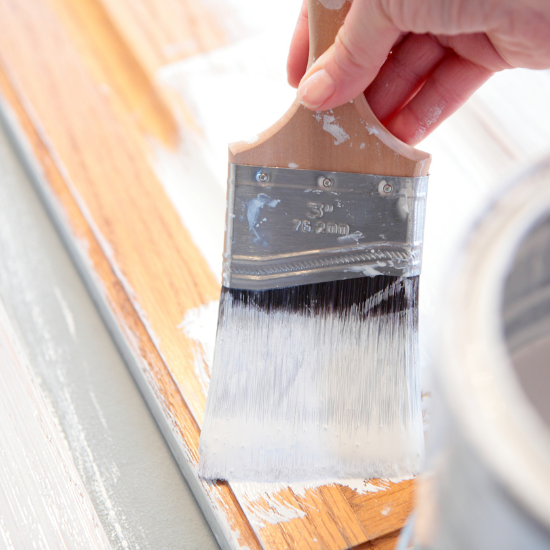
Option 1: Use a Bonding Primer
Apply a high-quality bonding primer like:
These stick to glossy surfaces and create the perfect base.
Option 2: Use a Built-In Bonding Paint
Skip the primer and use an all-in-one paint made for cabinets, like:
These formulas are specifically made to adhere without sanding and hold up to daily use.
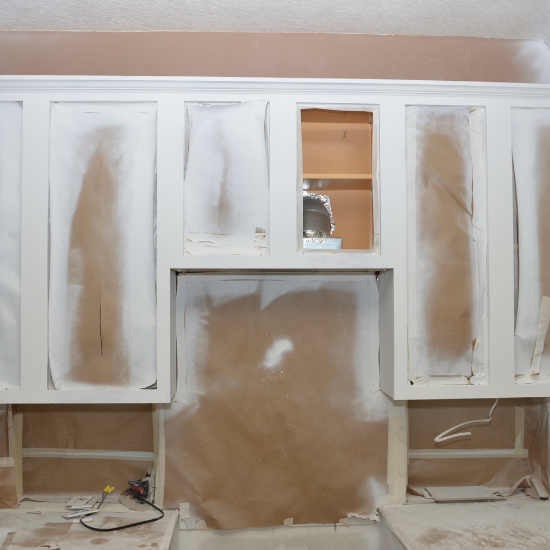
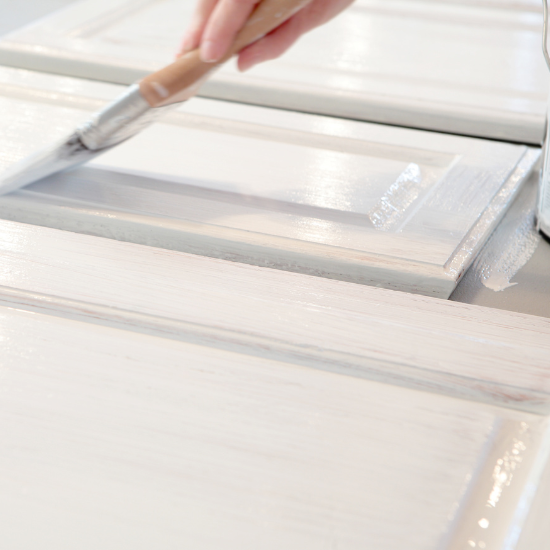
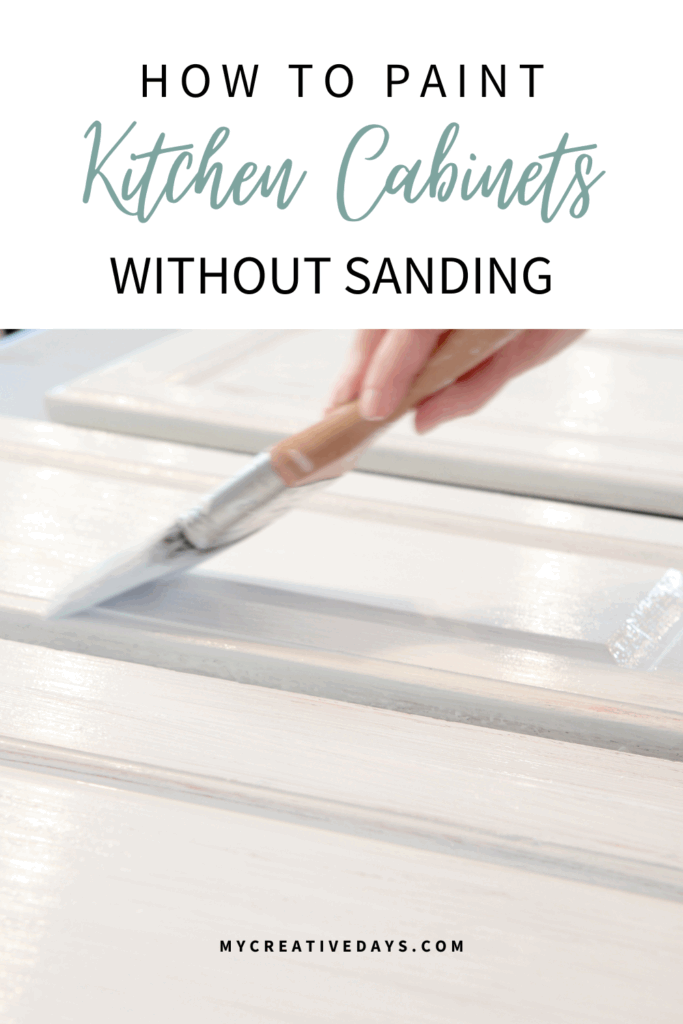
Step 4: Paint in Thin, Even Coats
Now for the fun part—painting! For most cabinet surfaces, I recommend using a roller or sprayer to get a smooth, even finish. You’ll still want a brush for those hard-to-reach spots. No matter which tools you use, the secret is applying thin, even coats and allowing each layer to dry completely before adding the next.
✅ Most cabinets will need 2–3 coats for full coverage.
Step 5: Let It Cure
Even though the paint feels dry after a few hours, full curing takes at least 7 days. During this time:
-
Avoid scrubbing or heavy use.
-
Let doors and drawers stay slightly ajar to avoid sticking.
This step helps ensure your paint job lasts for years, even without sanding.
Optional: Seal for Extra Durability
If your cabinets get a lot of traffic (think kids, pets, or daily cooking), consider sealing with a water-based polycrylic topcoat for extra protection.
Learning how to paint kitchen cabinets without sanding is a game-changer for DIYers. It saves time and mess, and with the right prep and products, your cabinets can look amazing—and stay that way.
To see DIY projects like this in real time, head over to my YouTube channel HERE. Make sure to SUBSCRIBE when you are there because I am launching new videos every week, and I don’t want you to miss any of them!
PIN THIS POST!
If you found this how to paint kitchen cabinets without sanding post helpful, you will also love these:
How To Update an Outdated Kitchen on a Budget