Ladies and gentlemen, I have a special announcement. {insert drum roll}. Our kitchen makeover is done!
Can you believe it?
Me either!
Even though I missed my goal of getting this posted at the end of January, I have never been more excited to get a post done. The process was very long, but it was worth the wait.
We had many different projects involved in this Do It Yourself Kitchen Makeover. Each step taught us something new and we were excited to try a couple of things we’ve never done before in the process.
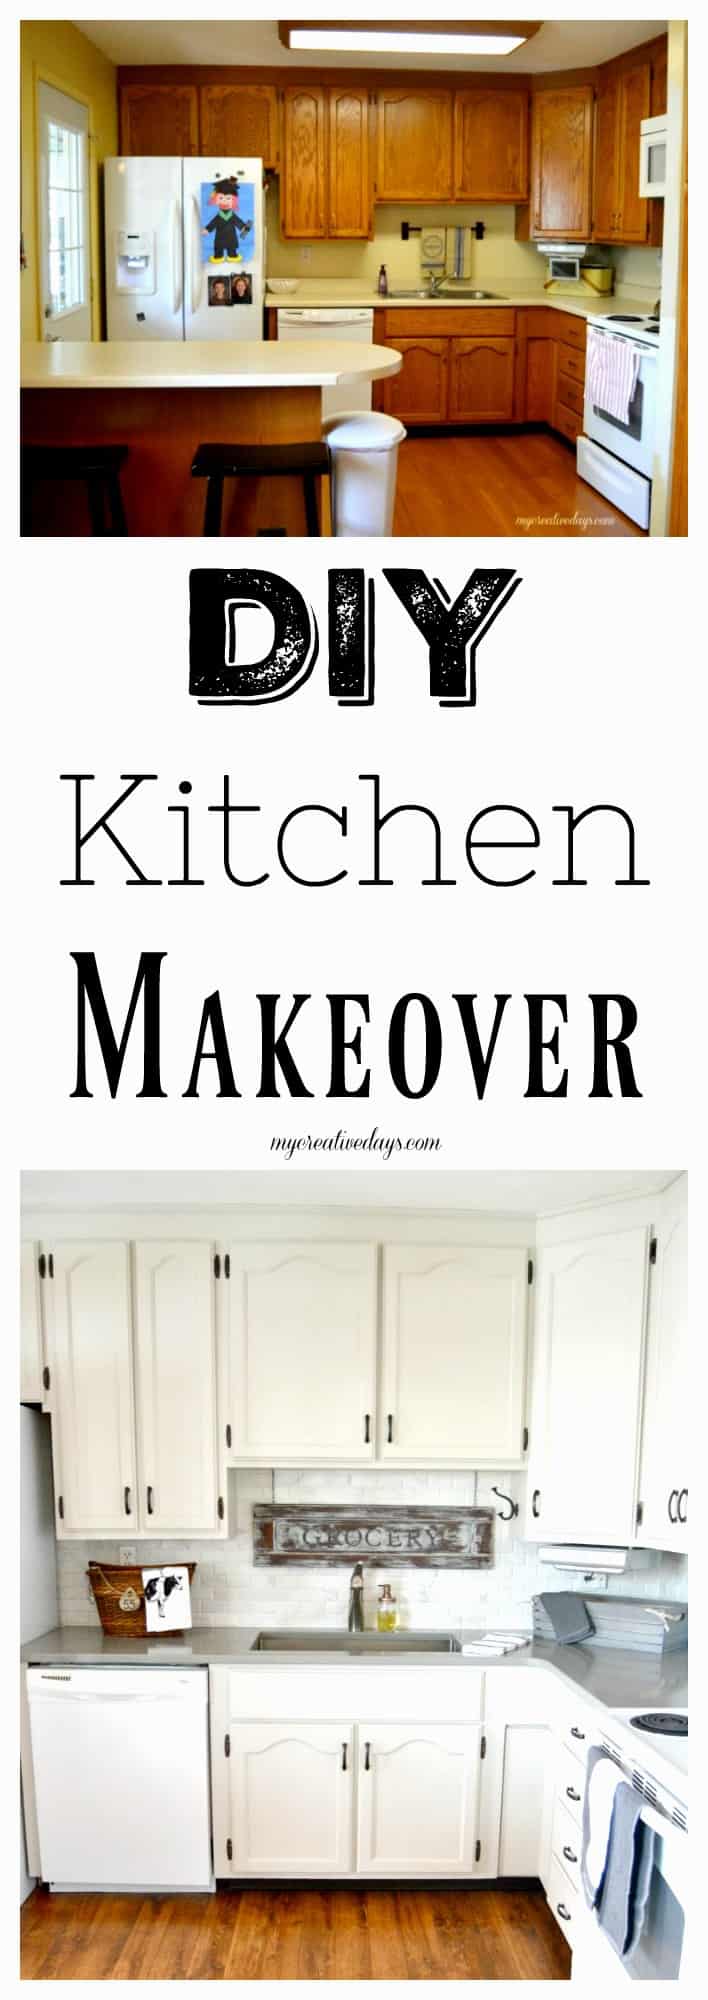
When we moved into our home fourteen years ago, the kitchen was the original 1960’s kitchen. We made a few changes as soon as we moved in, but this is what it has looked like for the past thirteen years.
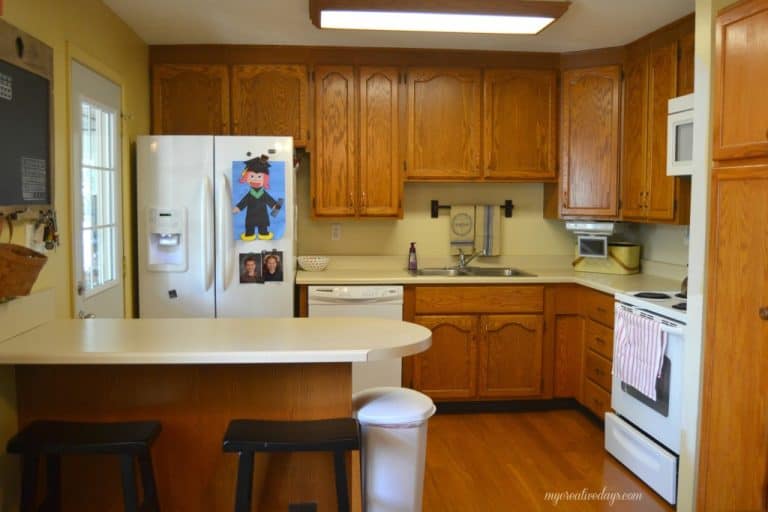
When Matt and I were talking about making over the kitchen, we were only going to do a few things. But, as we were talking about what we wanted to change, it turned into an entire kitchen makeover. Matt kept saying, “If we are going to do it, let’s just do it all.”
He was right.
Thank goodness he knows what he is talking about.
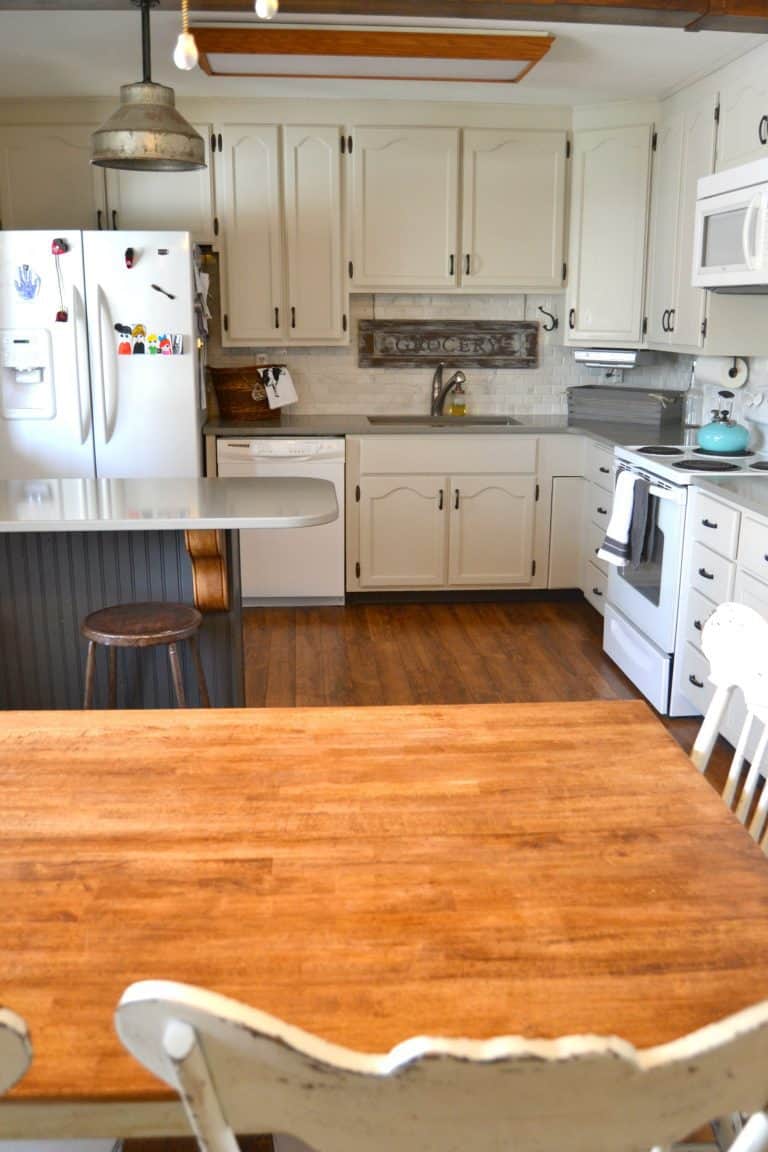
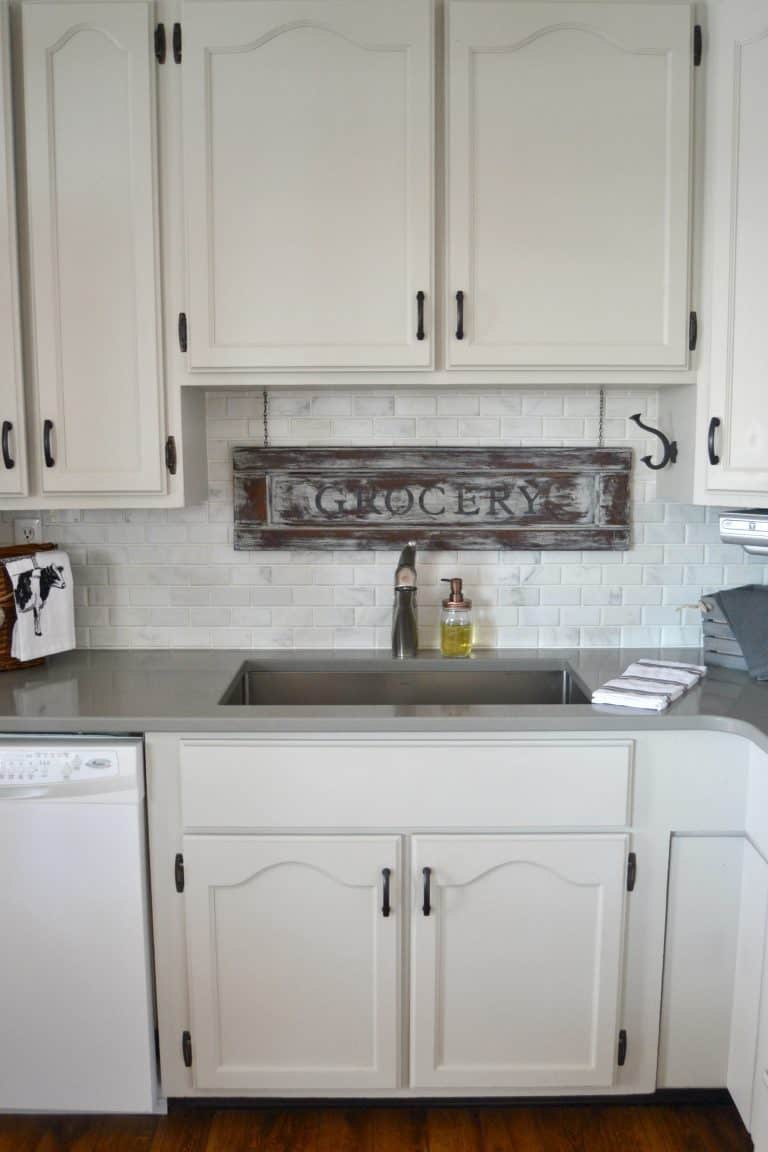
Look at the difference!!
(I wrote a post for each step and project in this makeover. I will link to those posts in this post so you can find them easily. And, since these photos have been taken, I have painted the light fixture in the kitchen to match the kitchen makeover better.)
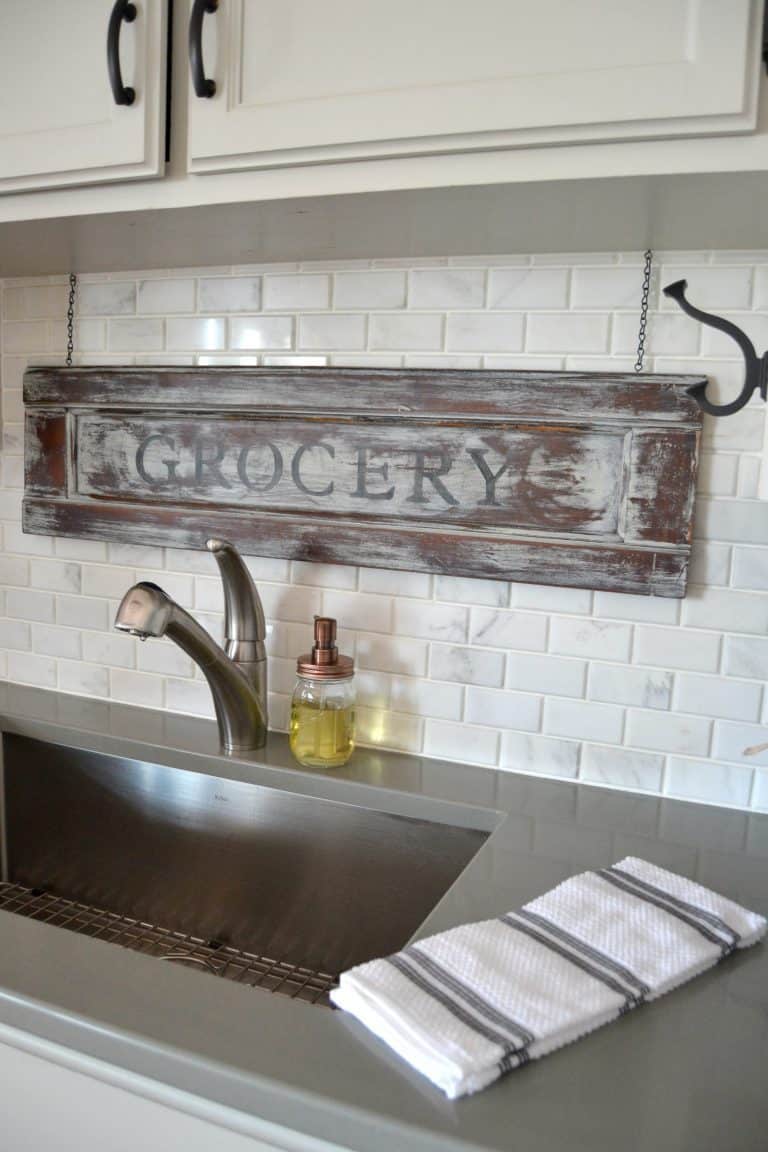
When I was thinking about my favorite parts of this makeover, I had to start with our new Kraus sink and faucet from eFaucets. Who knew a new sink and faucet could make your life more enjoyable. 🙂
I can put so many dishes in this sink and they never pile up. The sink “swallows” them out of my view so I don’t worry about them until I am ready. (My OCD is thankful for this sink.)
The pull-out Kraus faucet is a game-changer. I knew I really wanted a pull-out faucet, but I didn’t know how much I actually needed one with the new sink. With a bigger sink, you need a pull-out faucet to reach all the food and things that get stuck in the corners of the sink. The faucet can reach the corners and spray all the yucky stuff down to the “basket” to collect it all.
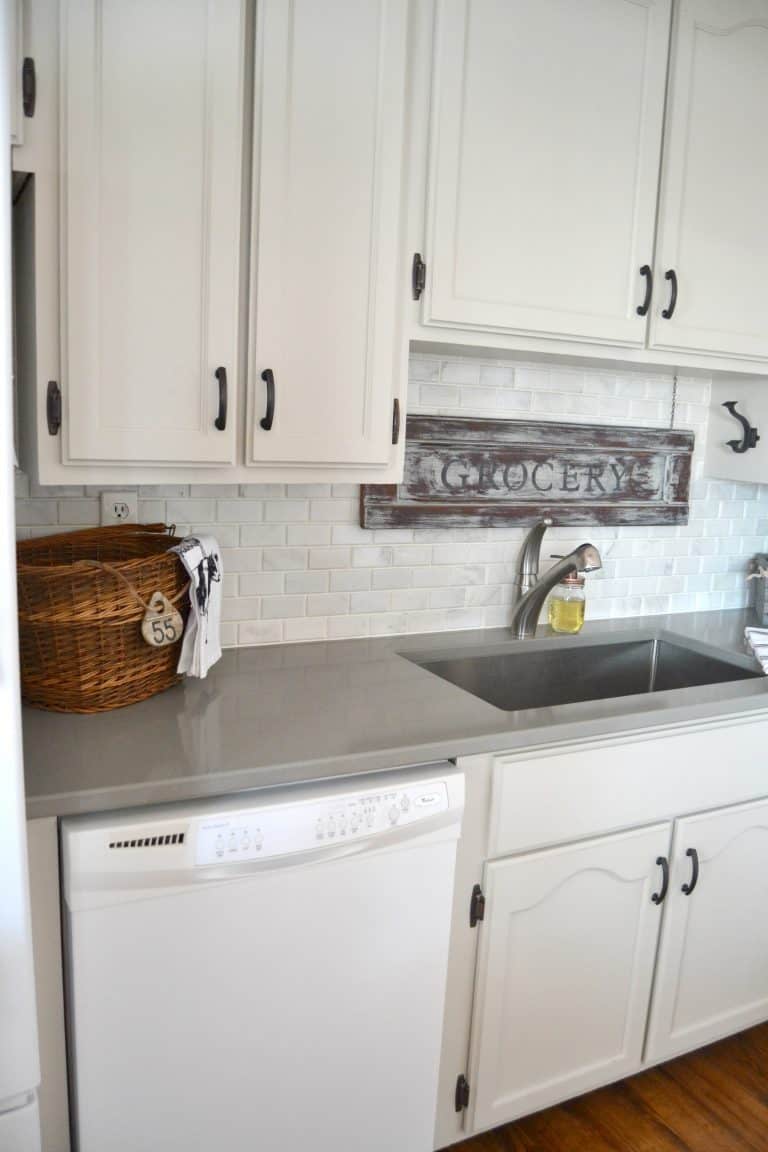
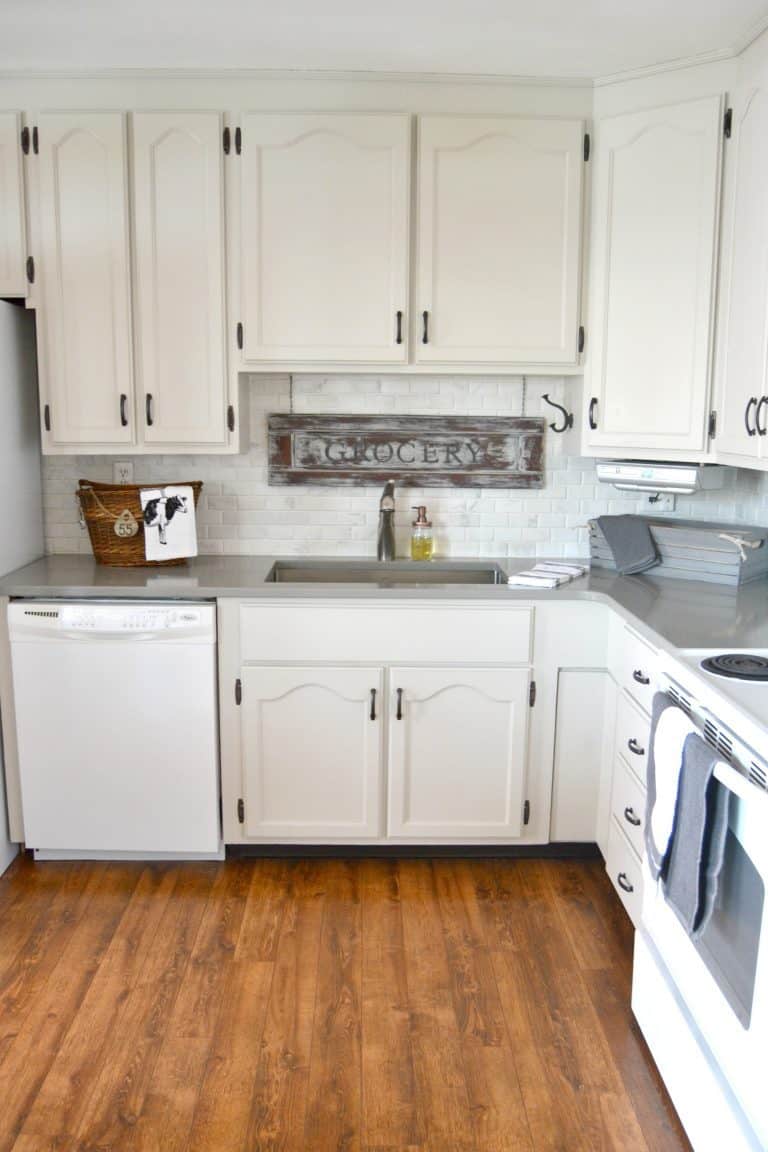
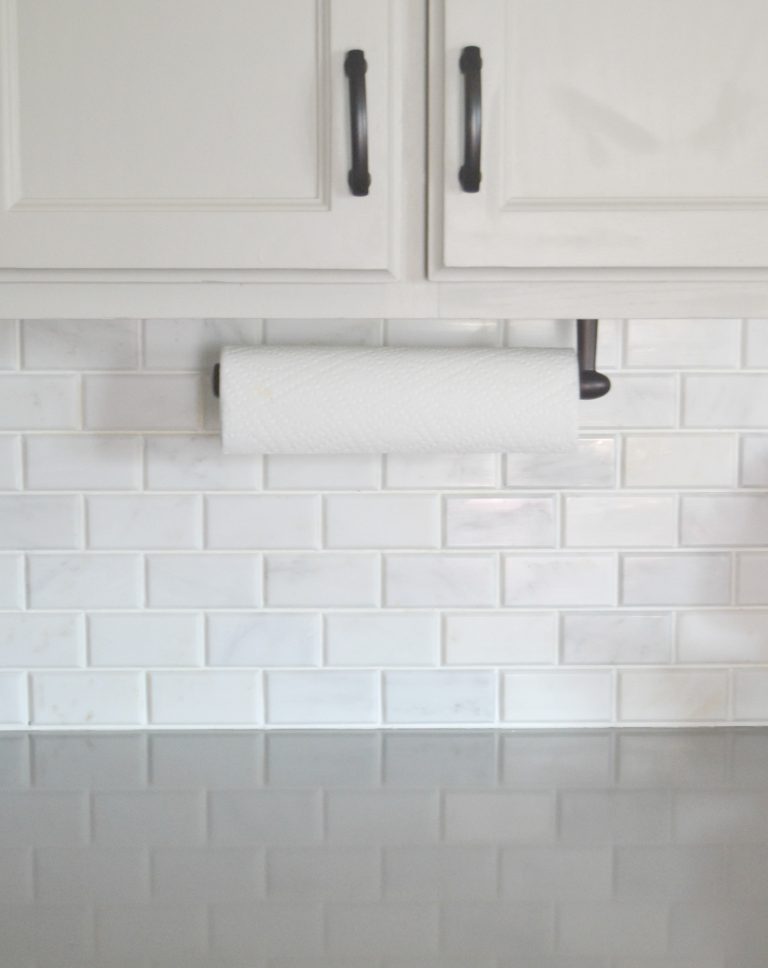
I wasn’t sure if I wanted a backsplash, but when I saw this beautiful stone tile from The Builder Depot, I did. It is so pretty and brightens our kitchen which was one of our major goals in the makeover. DIYing our way through the tile was the “hardest” part of this makeover. We learned a lot and even got to use a new tool in this process.
There used to be a towel rod behind the sink. I didn’t want to put another one back up, but I did want to add something there. This Grocery sign was the perfect addition. I made it from a piece of a 1890’s organ I picked up for free. I love the dark contrast against the light tile.
Painting our cabinets was the one project that kept me from doing the kitchen makeover years ago. I was so scared to paint them. If I would have known the job wasn’t that bad, I would have done it earlier. I chose the color “Agreeable Gray” from Sherwinn Williams for the cabinets. I liked that it had both gray and beige undertones. It works well with warm and cool colors. I get bored easily so I need colors and finishes that are neutral so I can change things around them when a new idea strikes. 🙂
The cabinets really came together with all the new hardware from Hickory Hardware.
(Affiliate links are used in this post. You can see my full disclosure here.)
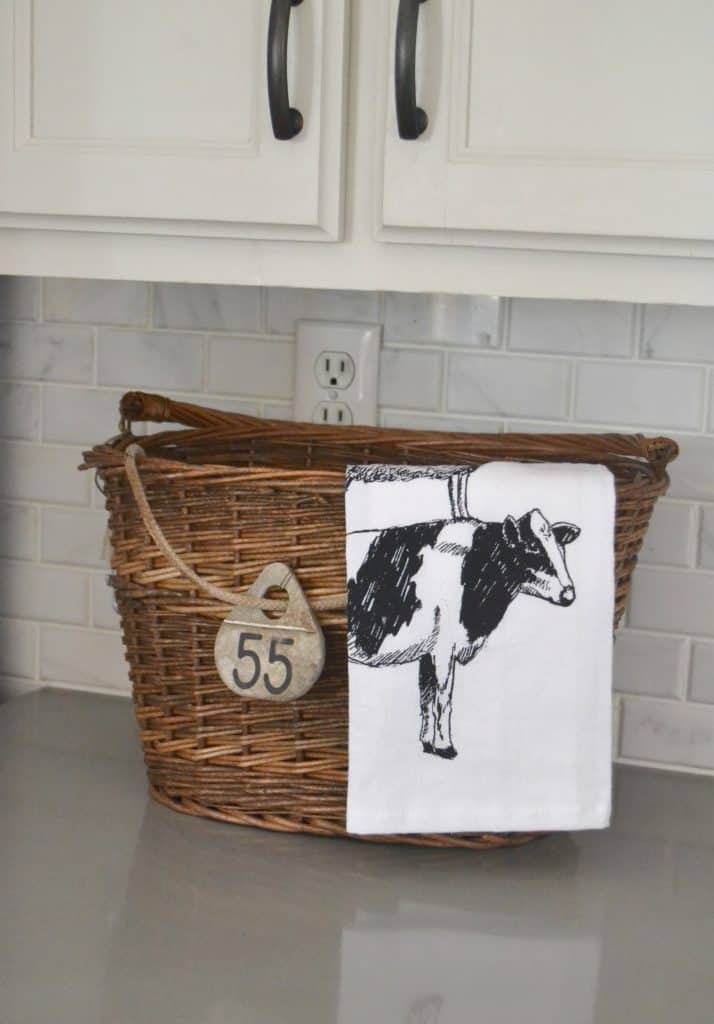
Not only did we change the big things in this kitchen, but I bought a few things to add to it as well.
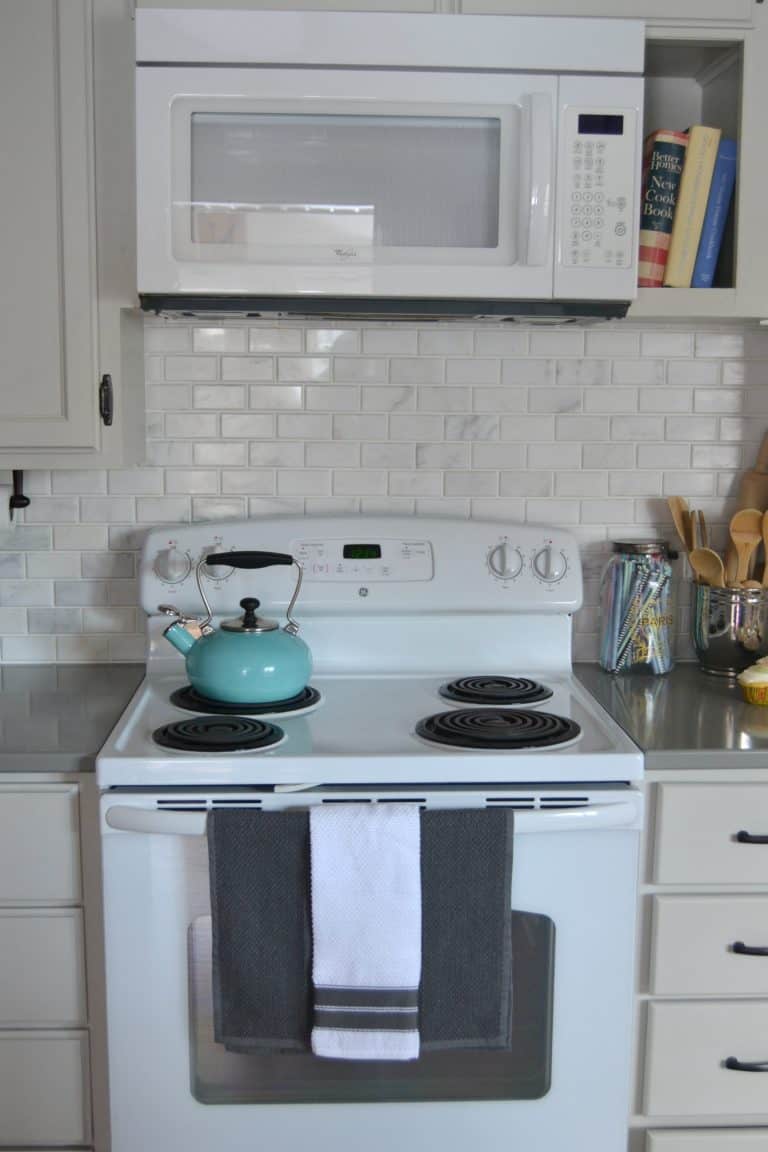
I couldn’t pass up these fun towels from Target.
I found the Mason jar soap dispenser at TJ Maxx. (You can find a similar one here.)
This paper towel holder is another favorite addition.
Our old one was plastic and I had to unhook it to replace the paper towel roll.
Not this one.
You just slide it on and off.
I love it.
The finish matches our hardware too.
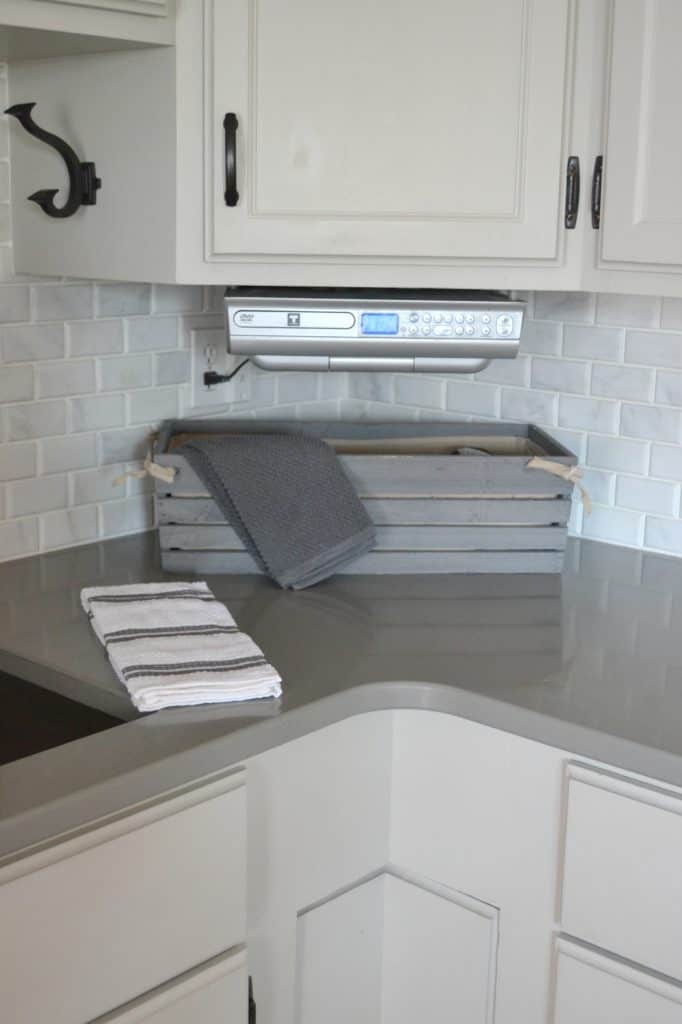
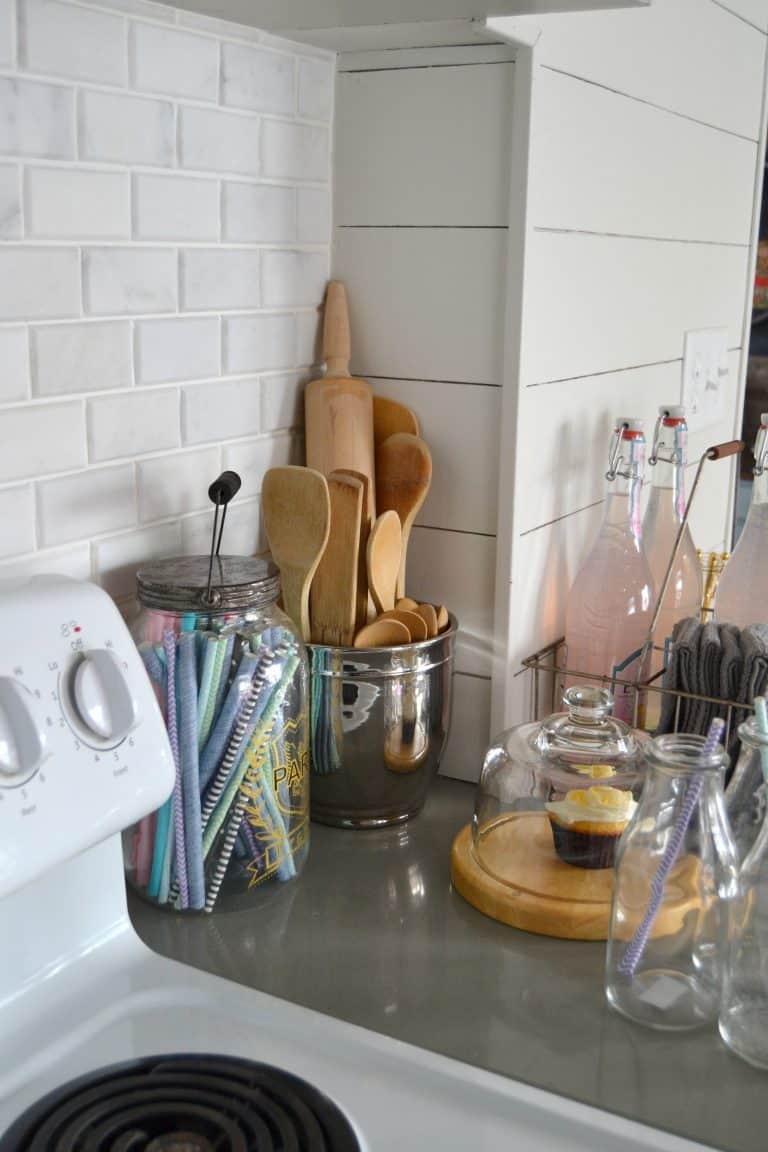
The tea kettle was a Christmas present and I have been scouring thrift stores for old cookbooks. I have found a few, but I am still on the hunt for a few more.
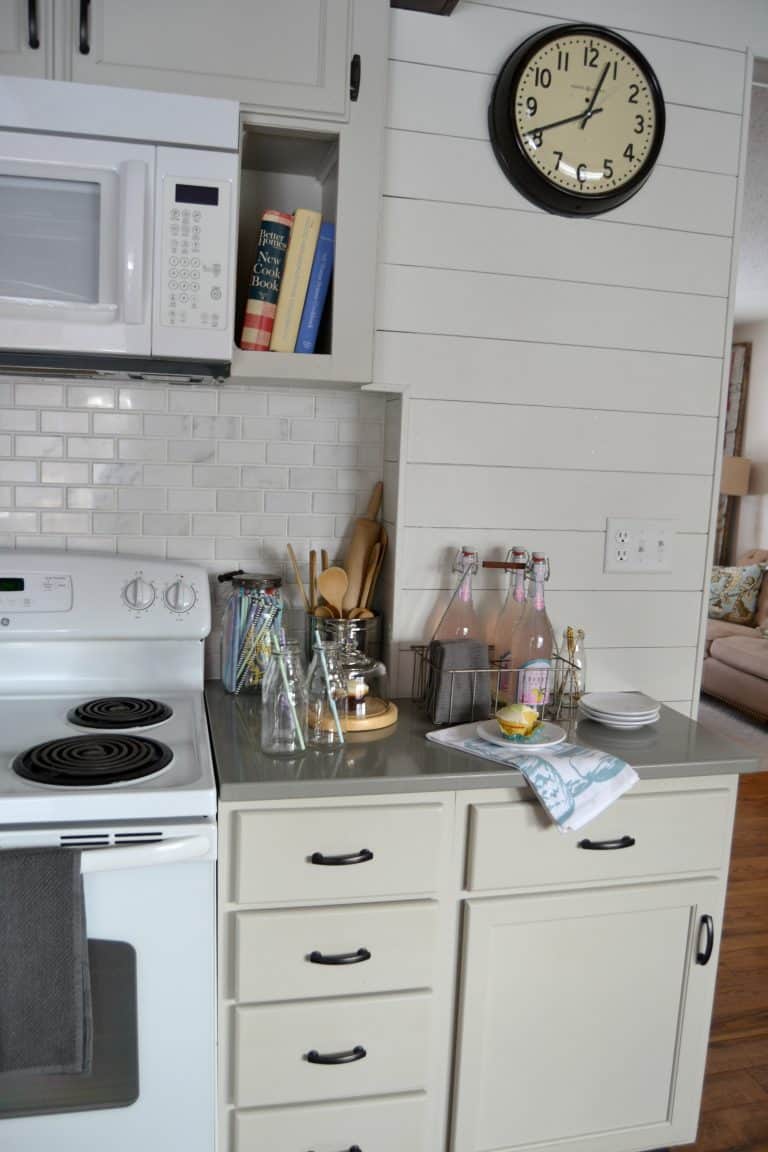
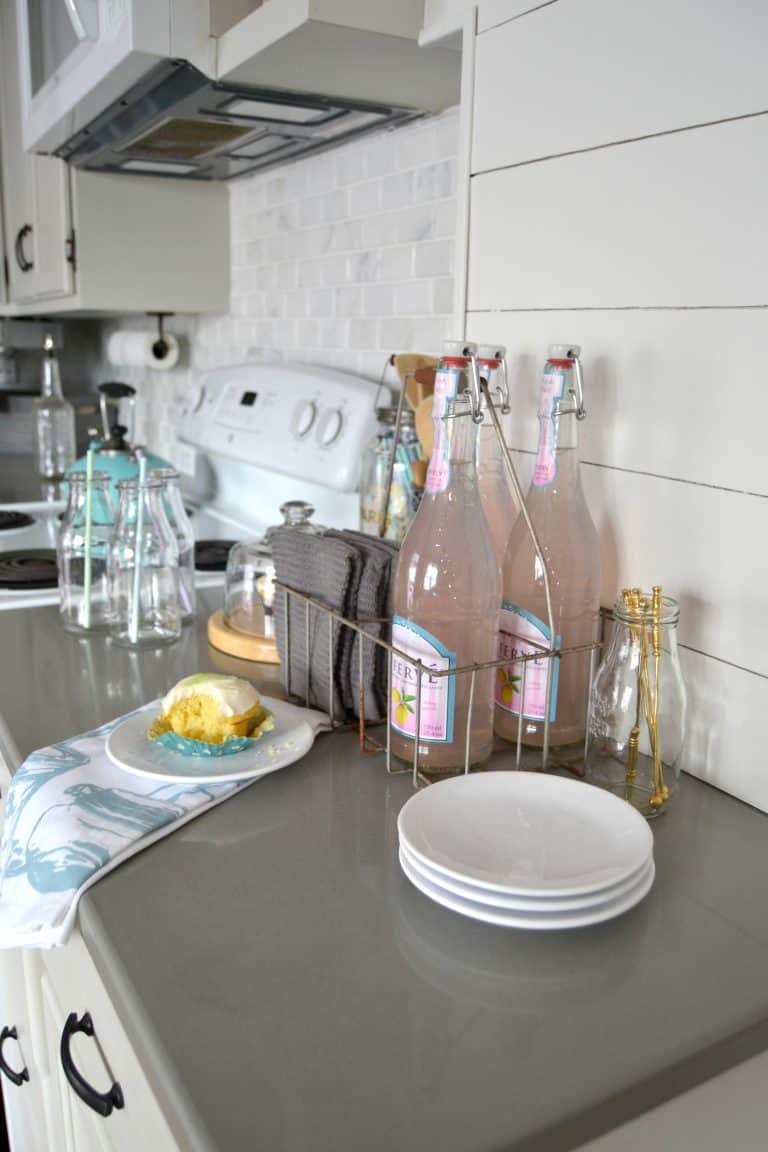
When we took down the half wall and cabinet that we had on the right side of the stove, I was really excited. I needed more counter space in our kitchen and this gave it to me. It is not huge, but it has made the world of difference being able to utilize counter space on both sides of the stove!
We added ship lap to the wall going into the living room and found an amazing old clock for FREE at an estate sale. Along with the sink and faucet, I didn’t know a clock could make me so happy. It does. Matt was able to make it battery operated so it would work on this new wall. (You can find a similar clock here for under $20!)
I was going to hang a shelf on this wall, but with the switches there, I am not sure I want one. This may change down the road.
The WilsonArt Quartz countertops were a splurge. I really wanted concrete countertops, but found out they were really expensive and it was hard to find someone to do them. Then, I started searching for new laminate countertops and Matt really wanted stone. When I saw the gray color, it reminded me of concrete countertops so I knew they would work well. What I really like about them is that they are maintenance free. You can’t beat that.
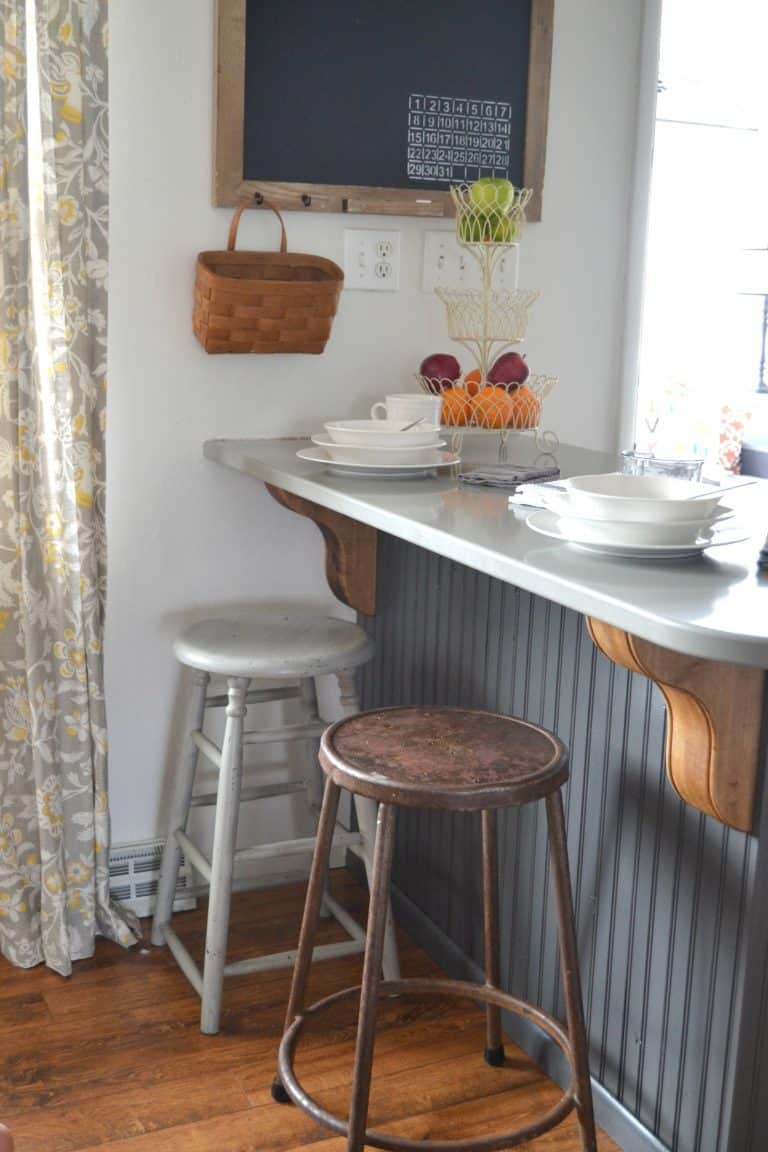
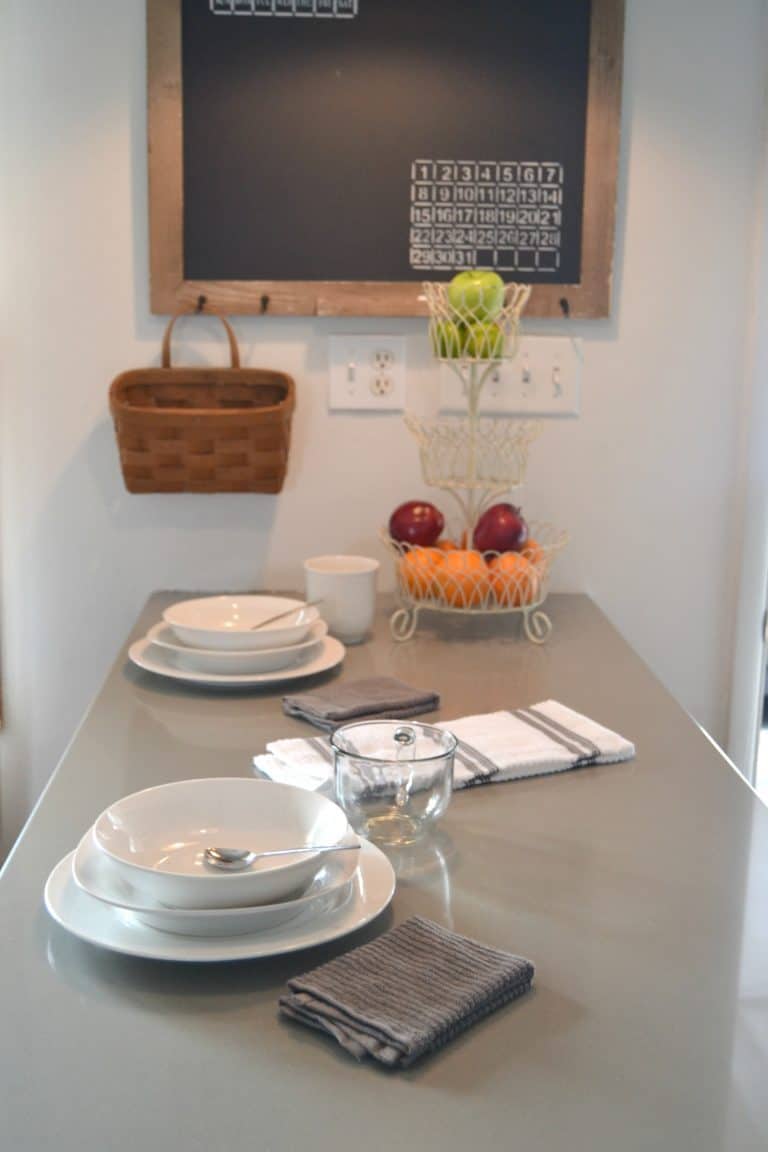
This makeover would not have been complete without changing the peninsula as well. Matt was thinking we should get rid of it, but we use it all the time. Not only is there a lot of counter space on it, but our kids eat there a lot.
The peninsula makeover started with beadboard around the back and side. Then, I painted it all a charcoal gray color. After that, we added wood corbels from Osborne Wood on each end. I stained the corbels. The wood color with the charcoal gray are a match made in heaven. The corbels are another favorite in the new kitchen.
Way before we thought about this big kitchen makeover, we added the faux wood beam and galvanized DIY light fixtures above the peninsula. I never thought back then that they would be the jumping-off point for an entire kitchen makeover.
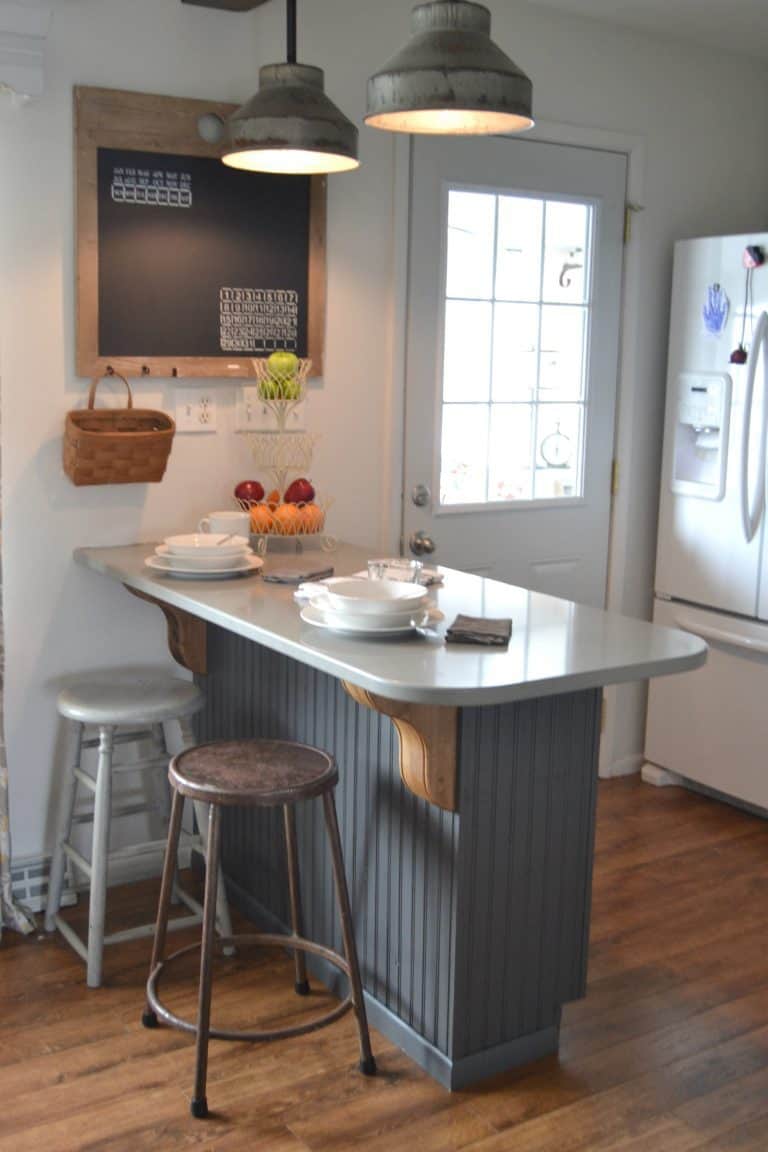
The new laminate floors from Floor & Decor was the beginning of this makeover. They are the prettiest color and add a lot of warmth to the kitchen. They were very easy to work with and didn’t take us a long time to install. If you have ever thought about laminate floors, head over to my laminate floor post for some insight.

I knew I was going to see this day eventually, but I had no idea it would take this long.
A kitchen makeover is a J.O.B.
We didn’t rush through it (obviously) and some things took longer than we thought, but it was all worth it. We are so happy with the results and couldn’t be happier that we started the journey. If this Do It Yourself Kitchen Makeover is a testament to what all kitchen makeovers are like, I would tell anyone who is thinking about it, to go for it!
What is your favorite part of the kitchen makeover? What would you have done differently?
PIN THIS POST!
If you liked this kitchen makeover post, you will also like these DIY ideas:
10 Tips On How To Paint Furniture
How To Paint Tile The Easy Way
How To Brighten Up Your Space Without Paint
Love it! Your attention to the details is perfect!
Thank you so much!
Hi Lindsay! Oh my word, I looove everything you did. I have lots of old cookbooks as well, so I love the nook by the microwave…splendid! The contrast between the cream tones and grey are outstanding! I will share a little secret with you…my famy and I have prayed for a long time about moving in 2 years from Florida, and we have been feeling a tug towards NC…we are hoping to find a home there in the country to buy reasonably and fix to our liking…and dream of incorporating a ou God gifts and talents to creating our home a true haven. We are not able to do this here and now, because we are renting the cottage we live in, and we signed a 3 year lease, to allow our daughter (16) to finish high school and get settled into her 1st year of college. Please keep us in your prayers! Again, you guys have outdone yourself, the kitchen makeover is gorgeous! Many blessings my friend!
Yolanda, thank you so much for your kind words! I will for sure keep you in my prayers. How exciting!!!! I have never been, but NC has to be gorgeous. We would love to find a place in the country or even convert a barn into a home some day. Easier said than done! 🙂
Lindsay, I will definitely keep you and your dreams in my prayers as well! Believe it, pray about it, plan it, and go man go! That’s what my dad used to say! I would love to find a great barn and fix it up, and live in it until the Lord calls me home!
Emilie Barnes the author/speaker and Queen of Tea Time, did exactly that many, many years ago. She and her husband located a barn in California, and made it over to fit their needs and fulfill a long time family dream. It is a fabulous home!
Keep believing!
Blessings,
Yolanda
Thank you for this!
Wow, it’s beautiful! I don’t think there’s a thing I’d change! We’re getting ready to tackle our kitchen. Thanks for the inspiration!
Thank you Celilia! Good luck! It is a long process, but worth it.
I’m finally going to do mine. It took a couple of years to brave it. I’m so glad to see the white appliances in your kitchen. Everything looks wonderful. Love your wood floors too! Great job!
Thank you so much Robin. No room in the budget for new appliances
I’m in love your kitchen! I’m sure it’s in there somewhere and I’m looking so hard I’m probably looking right over it but I’m wondering if you can share what shade of color is on your cabinets.
If you follow the link about the cabinets, it will take you there. It is Agreeable Gray from Sherwinn Williams
Love the white cabinets and black hardware! My Mom’s kitchen has the same look and has since the mid-1960s. Classic looks always come back!
THanks Kris!
I love the transformation! Will you share the charcoal paint color for the peninsula? I love the grey/stained wood combo! Also, do you have any info or tips regarding the wooden beams on the ceiling? Were they difficult to install? Where did you purchase them?
Check out these posts for the beam and lights:
https://www.mycreativedays.com/diy-kitchen-light-fixtures-part-1/
https://www.mycreativedays.com/diy-kitchen-light-fixtures-part-2/
I looked at the name on the can for the bar and I think it is called Monument. It is Dutch Boy from Menards.
Lindsey, Sent y0u a comment on your lovely kitchen makeover, I hit send but got an odd message so don’t know if it went through or not. Kudos to you and your husband for a wonderful job! jill
Thank you so much Jill!
Oh, how cheerful! The gray bead board pops nicely against all the white! (We, too, are approaching the finish line in our kitchen; I can’t wait!)
YAY! Exciting about your kitchen!
What a cozy kitchen!
Thank you!
I love everything! Have you considered replacing the appliances to stainless and replacing the light in the kitchen or at least painting the oak around the old kitchen light fixture the same color as your cabinets? Great Job! I love all the detail!!!
Thank you! I have painted the fixture. I just haven’t updated the photo. I don’t care for stainless appliances.
Can you tell me the size of the countertop on your peninsula and what the dimensions are of the base? Im doing a peninsula that is 60″ long by 36″ wide and i am being told i cant put anything underneath because it will interfere with the stools but yours doesn’t look that large from the picture.
I will measure that for you.
The countertop measures 60×27 and the base measures 44×14. Hope that helps!